Sure, benchmarking your graphics card may sound like rocket science, but it’s not as difficult as you might think. Roll up your sleeves, because this guide will show you just how easy, enjoyable, and important it is to benchmark your GPU. And not just when you’re overclocking! Benchmarking also helps you make sure your current graphics card is running properly after months and years of use, and makes it easier to know whether or not you should upgrade. We’ll cover benchmarking for both stability and performance.
For even more information, be sure to check out our roundup of the best graphics cards, as well as our supplementary guide to the best GPU benchmarking software.
Why you should benchmark your GPU
First, though, here’s why you should be benchmarking your graphics card even if you aren’t trying to make it to the top of the competitive overclocking charts:
- To get a baseline performance metric so that you know if your GPU is performing as it should by comparing to other standard results.
- To be able to compare your current PC’s performance against your future hardware upgrades. How much performance will you gain by buying a new graphics card? Now you’ll know!
- To check for stability and other vitals like thermals, clock speeds, etc.
First, test for stability and temperatures
Now that you know why you should benchmark, it’s time to get into the how. Let’s start with stability and vitals. It’s rare, but sometimes a graphics card can be defective from the factory. That can mean a dead card, but in many cases you’ll get what are called “artifacts”—basically imperfections on the image, flickering, or even pulsating colors.
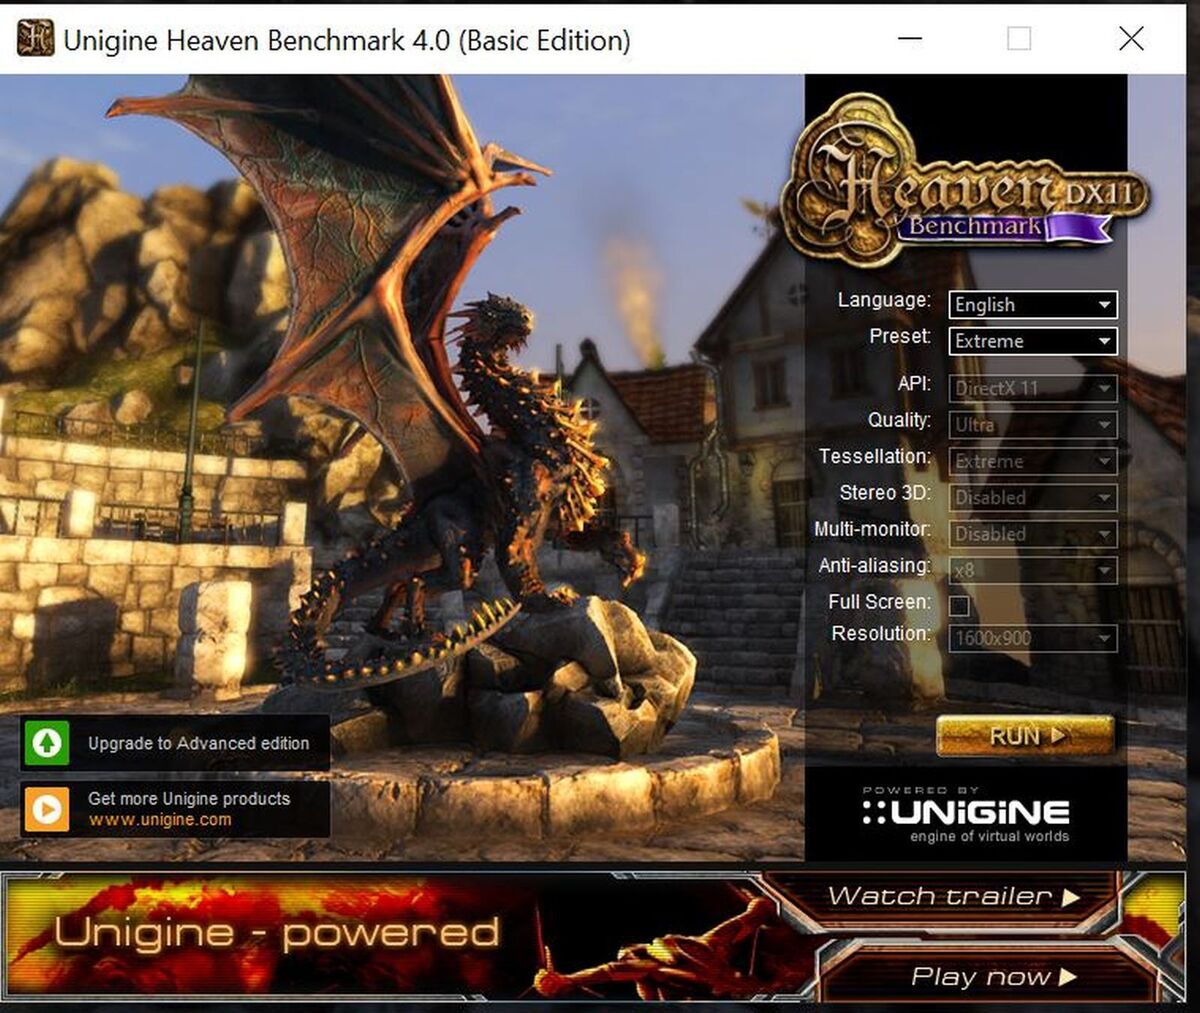
The first program we’re going to use is Unigine Heaven 4.0. It’s free for personal use and runs a loop of a graphical environment that really utilizes your GPU. The first order of business here is to make sure your graphics card can run without shutting down or displaying any weird graphical glitches, so you should allow it to run Heaven for at least 30 minutes, to allow the GPU to get up to temperature.
If all looks good, you’ll also want to keep an eye on the vitals, Those will be displayed in the top right corner, along with your GPU info.
The first vital is temperature, which can indicate various potential issues with your hardware and case airflow. If your GPU quickly reaches its maximum temperature limit, it could indicate a rare (but possible) issue with its thermal paste, or (more likely) restricted airflow in your case if there isn’t enough clearance for the fans to get cool air.
A good example of recent issues have been in the GDDR6X memory temperatures of Nvidia’s GeForce RTX 3090 Founders Edition. You’d never know without stress-testing the GPU that the memory can get very close to the VRAM temperature limit, potentially throttling your performance. (Some people have successfully updated their thermal pads and noticed a significant improvement)
How do you know the normal operating temperature for your graphics card’s GPU core? It varies by model (Google your GPU name for concrete details) but basic reference-style coolers can often run as high as 84 Celsius, while some larger graphics cards with hefty heat sinks and multiple fans—like Sapphire’s fantastic Nitro+ series—can be lower in the 60s and 70s. You’ll know if you’re in the danger zone if your temperatures are in the higher 80s, and your fans are spinning aggressively; this often will indicate poor case airflow. Add some fans or open some case panels and temperatures should improve. That’s a direct benefit of knowledge gained while benchmarking and testing your GPU.
You can also keep an eye on the core clock and memory clock of your GPU, to make sure it is performing near the intended specs. An easier way is to just run the benchmark option in Unigine Heaven, and then you can compare your score with others online and get a good baseline to make sure you’re in the ballpark.
How to benchmark your GPU to gauge baseline performance
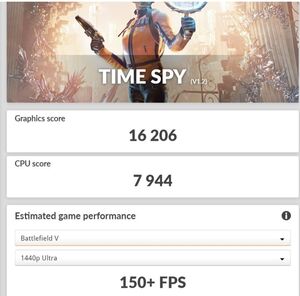
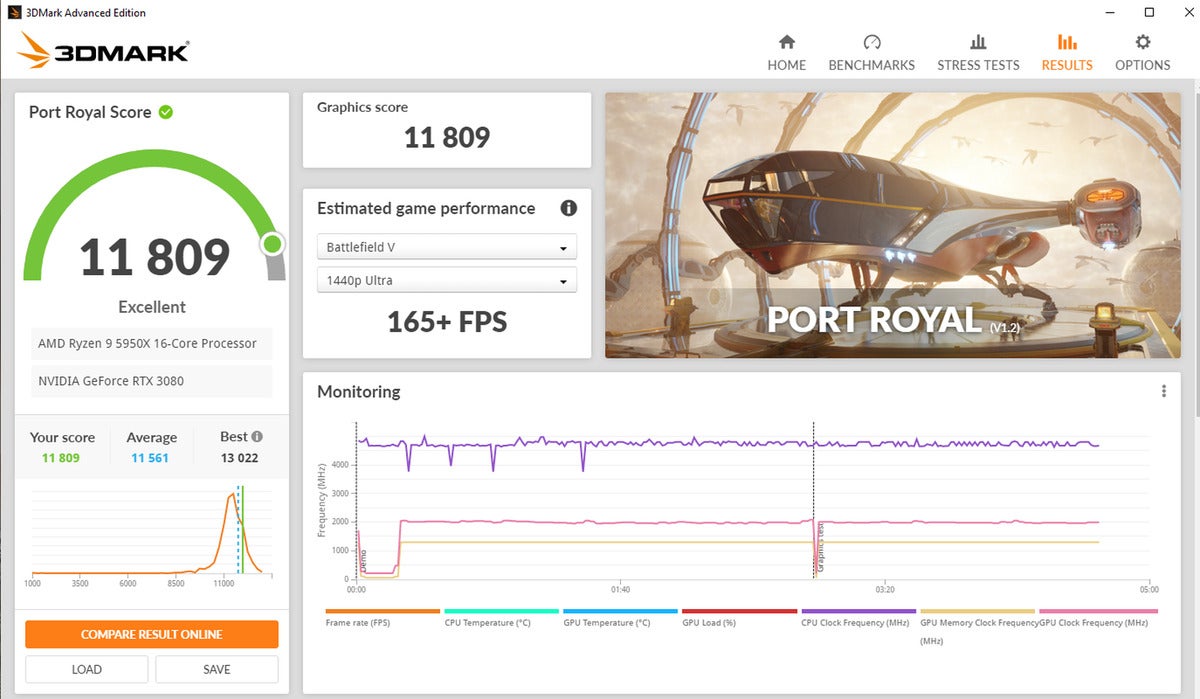
After you’ve tested for stability and thermals, you can take your benchmarking degree up to a doctorate by testing performance. Here we’ll use the popular 3DMark benchmarking suite, which includes some free modes. Time Spy (which tests DirectX 12 graphics performance) and Port Royal (ray tracing performance) are some of the most widely used benchmarks around. 3DMark even has an online hall of fame where you can compare your scores against others!
What numbers should you keep an eye on? It’s simple. There’s one total score, and then separate individual scores for the CPU and GPU if you’re running Time Spy. Port Royal just has GPU scores and a total score. If you make a tweak to a component in your PC, the individual scores give you a better idea of the affect it has on the total score. (This especially useful if you’re looking to overclock. Take a look at our article on Nvidia’s Automatic overclocking tool in GeForce Experience.)
3DMark mark can also show you the approximate frame rate performance you’d get on a chosen game and resolution, which is very useful information to gauge your performance and compare it against what new upgrades may accomplish for you. If you’re doing some overclocking, running 3DMark can also reveal instabilities in your system, such as crashes, so you can adjust your numbers and try again.
How to benchmark your GPU in games
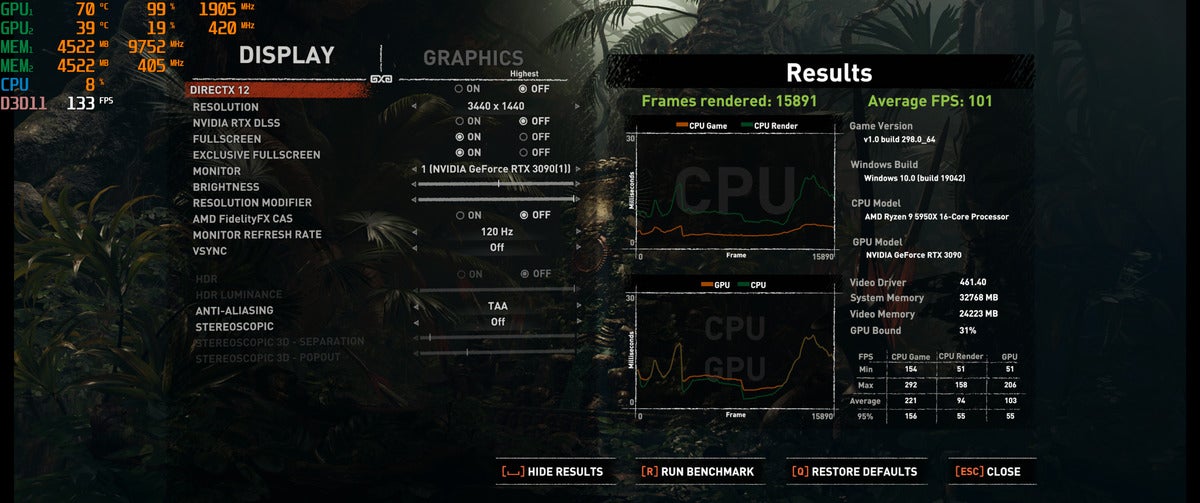
Another very fun way to benchmark your GPU is to use the automated benchmarks built into many games. (Check out our GeForce RTX 4070 review to see some common ones, or the list of games with built-in benchmarks at the always fantastic PC Gaming Wiki.)
Shadow of the Tomb Raider is a favorite of mine because you can easily see the frames per second performance that you’re getting in each scene, giving you a good indication of how the game will run overall. As a bonus, if you upgrade your graphics card or other PC hardware, you can re-run the benchmark and you’ll know exactly what gains you’ve netted.
More advanced gamers can use software such as Fraps or OCAT to manually benchmark performance of games that don’t have a built-in benchmark, but this will require more time, testing, and figuring out a repeatable testing scenario to avoid potential scene-to-scene variance.
There you have it! You’ve graduated to GPU benchmarking pro. Now you know how to check that your graphics card is stable and fully functioning, how to validate performance numbers to make sure your GPU is up to spec, and how to gauge the baseline performance of your hardware for future upgrade comparisons. And who knows? You may enjoy benchmarking so much, you’ll turn it into a hobby!
Editor’s note: This article originally published in 2021, but has been updated with more relevant references over time.

