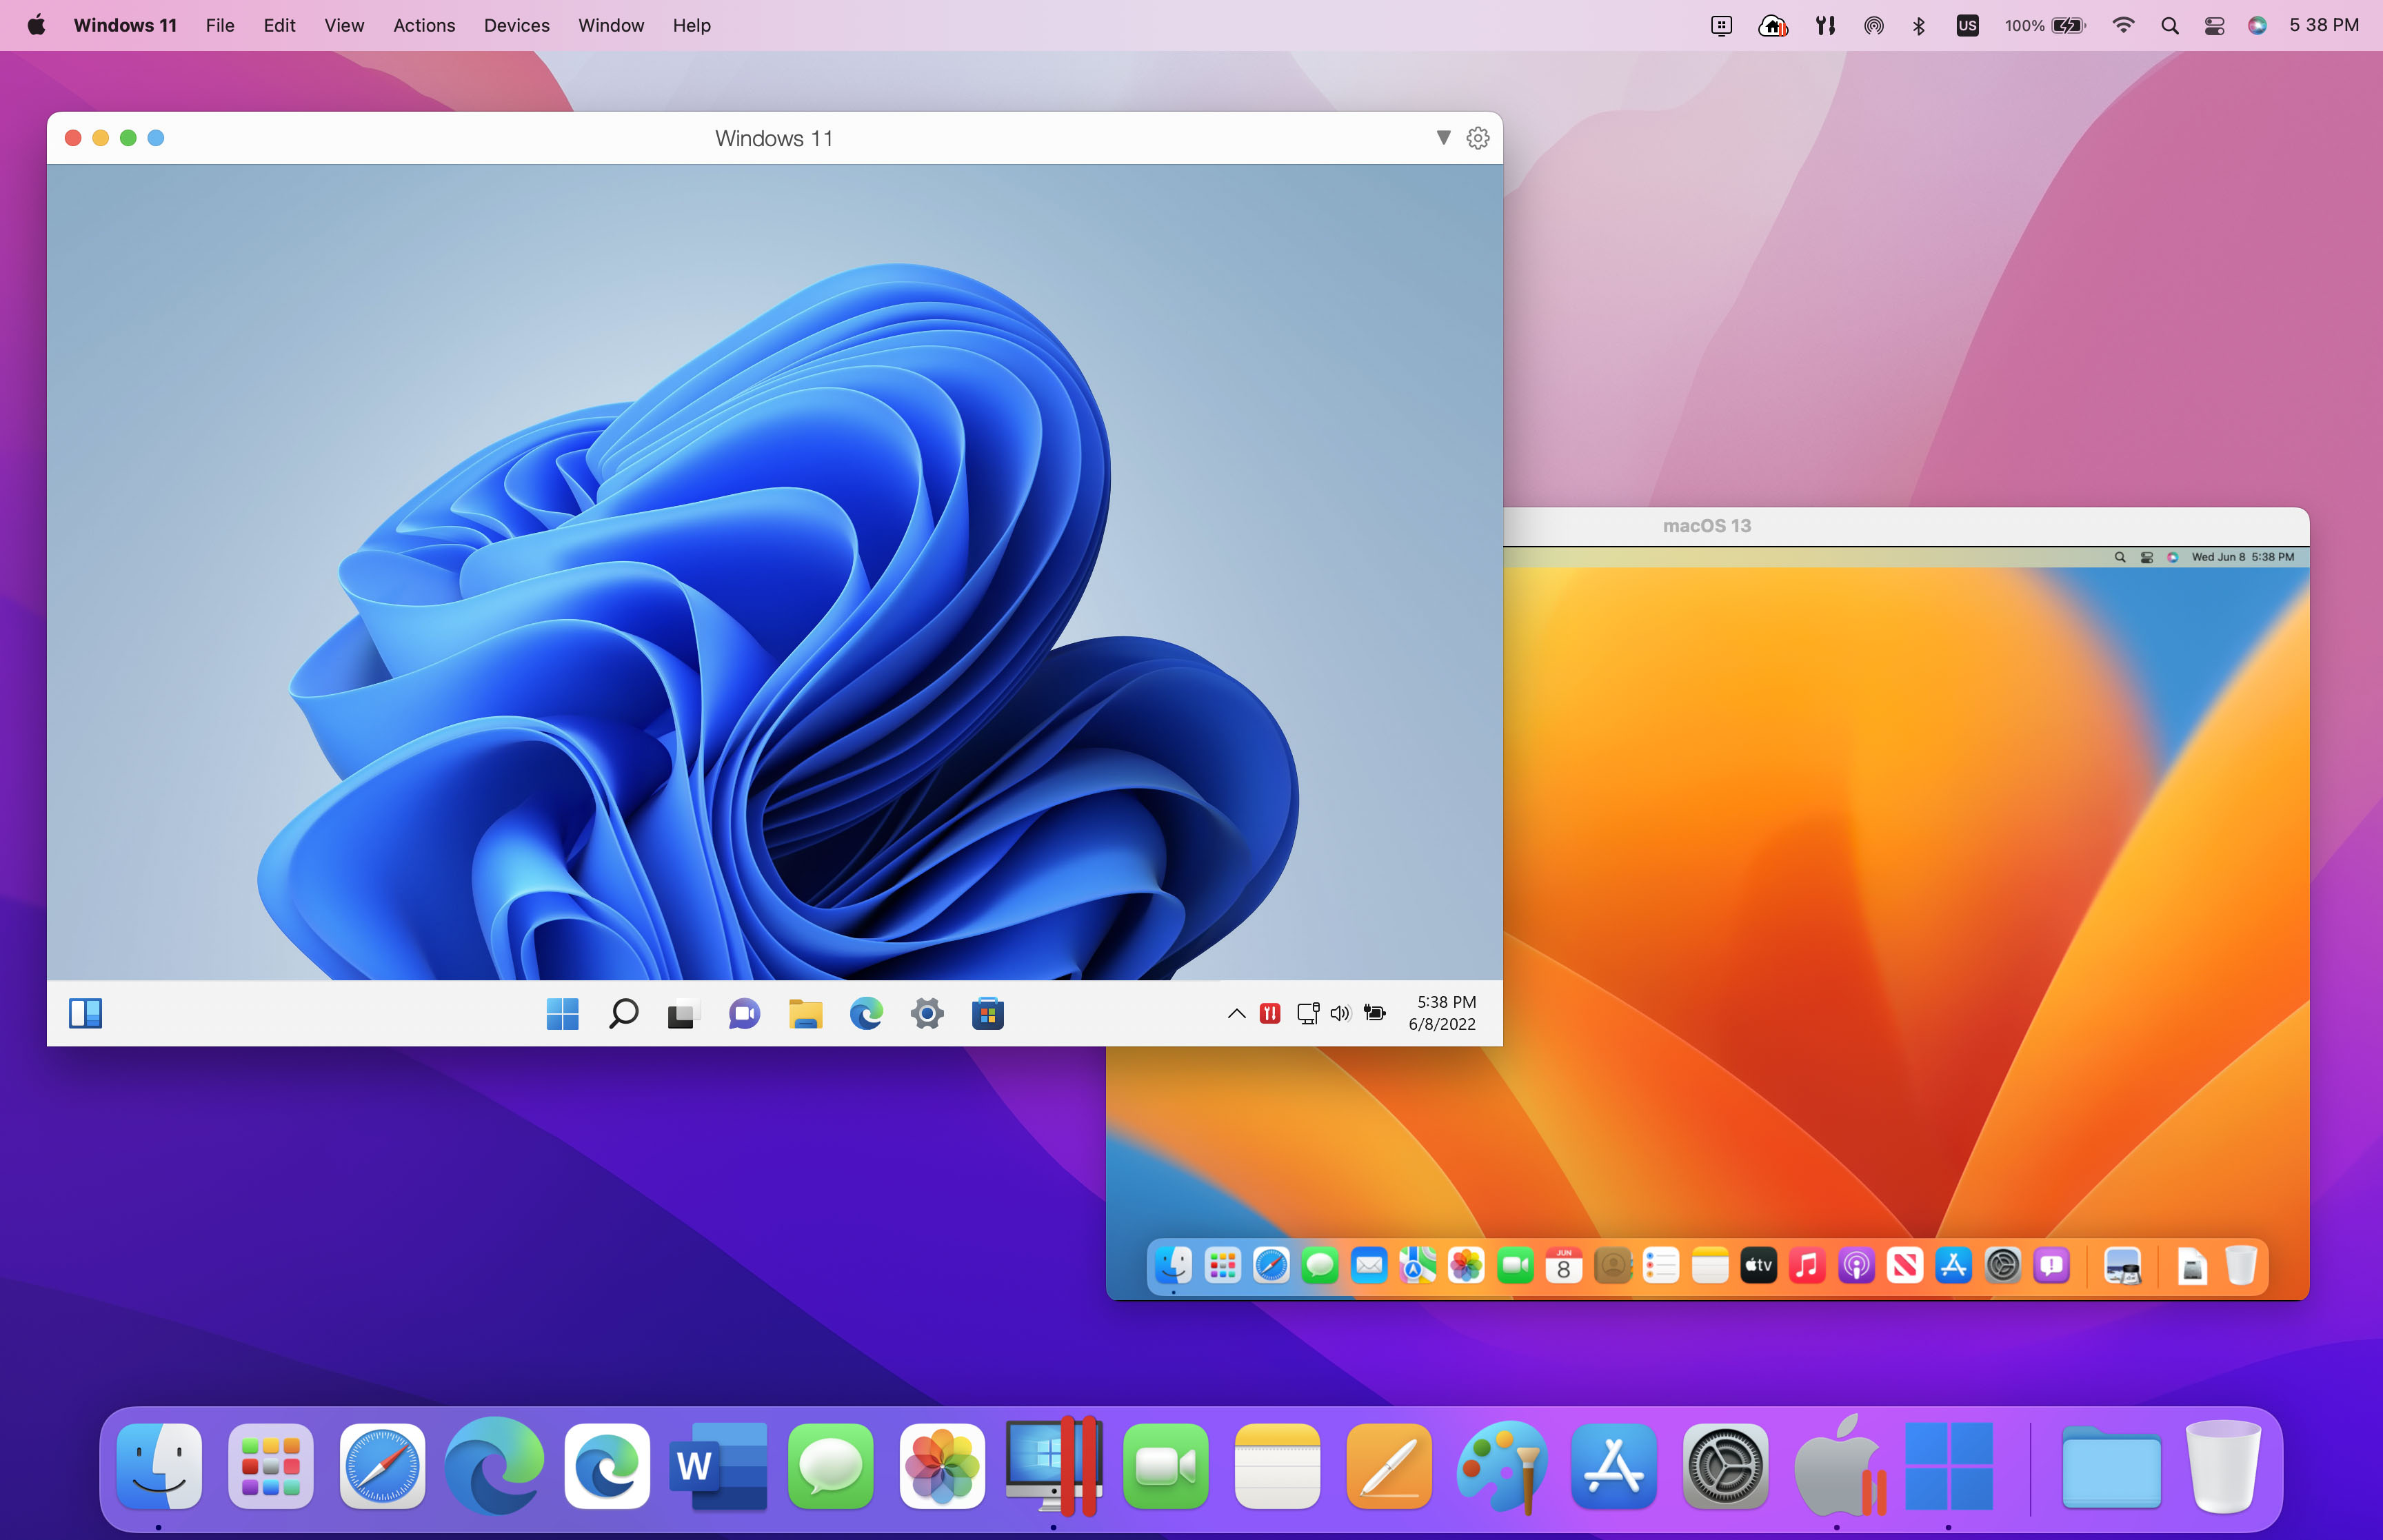
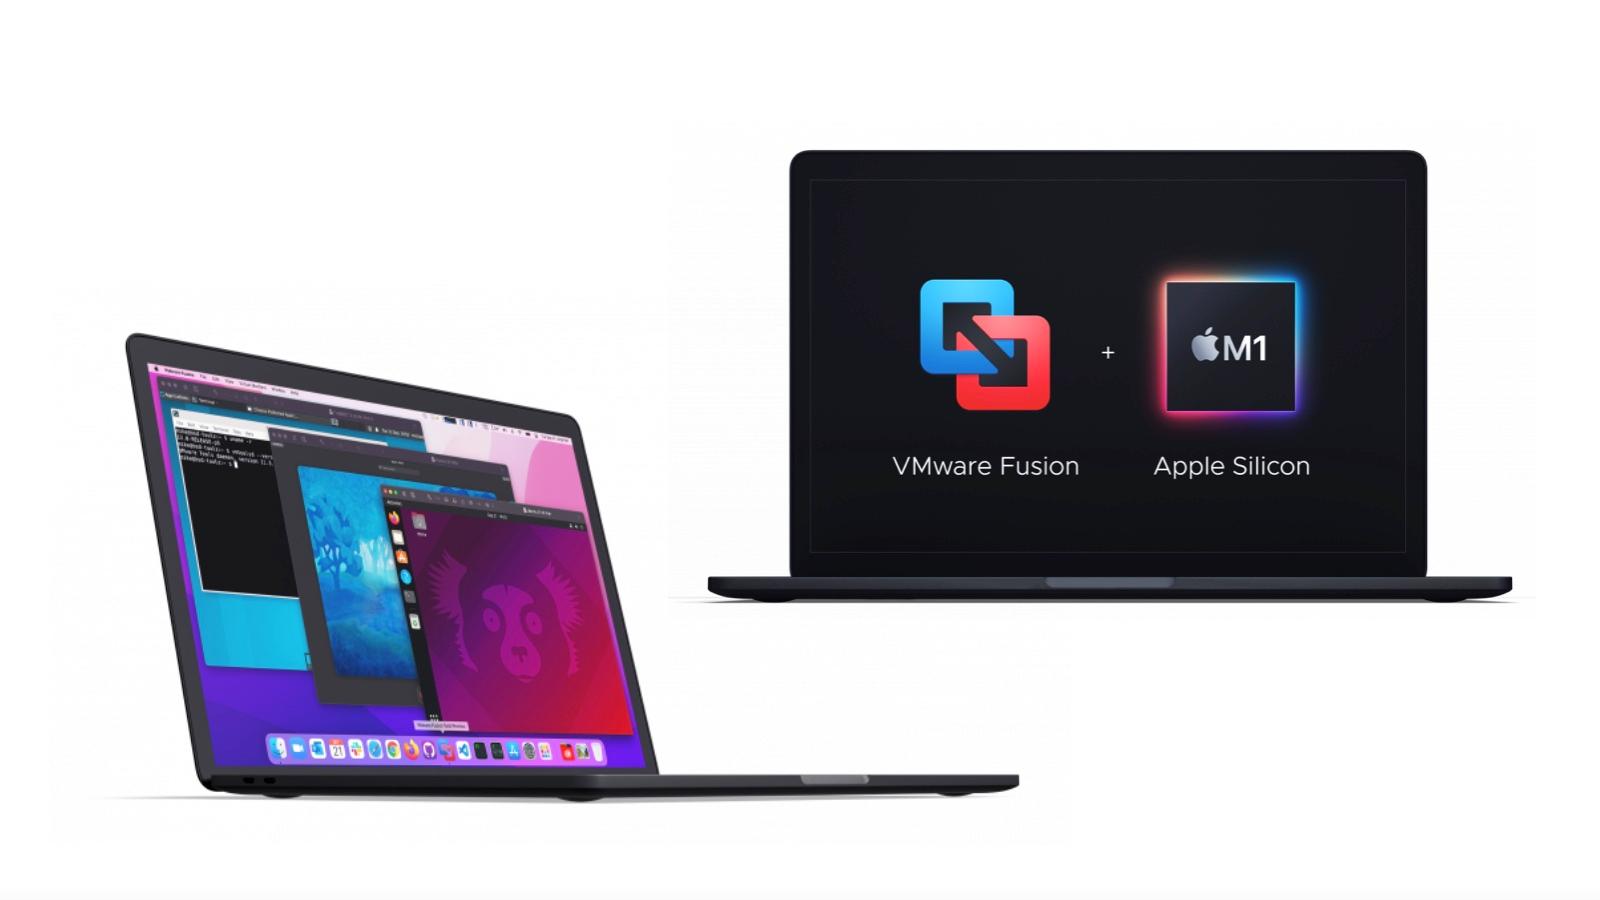
Apple’s decision to ditch Intel processors and move the entire Mac range to using its home-grown Apple Silicon processors seems to have paid off. Its M1 and M2 processors–and now M3 chips–provide impressive performance and battery life.
But older Macs that had Intel processors inside did have one advantage over the new Apple Silicon chips–they made it easy for Mac users to run Windows as well. The Windows operating system was written specifically to run on Intel processors, and the fact that Macs adopted Intel processors back in 2005-2006 meant that they were also able to run Windows, as well as macOS itself.
That was a real boon for many Mac users, as there are many professional-level apps in fields such as graphics and design that are only available for Windows PCs. And, of course, there are hundreds of PC games that never get released on the Mac, so having the ability to run Windows apps and games on the Mac gave Mac users the best of both worlds.
Further reading: The best laptops and Chromebooks
Different ways you can get Windows on Mac
Before we explain how to install Windows on a Mac (which you willl find below), we will run through the different ways you can (and could) run Windows on a Mac.
Boot Camp
Intel Macs had two options for running Windows, using either Apple’s own Boot Camp software or virtualization tools such as the popular Parallels Desktop or VMware Fusion.
Boot Camp allowed Intel Macs to partition their internal hard drive, splitting it into two sections. One partition stored the macOS and all your normal Mac apps, while the Boot Camp software allowed you to install Windows on the second partition. When you turned your Mac on you could then use a handy keyboard shortcut and tell your Mac whether you wanted to boot the computer into macOS, or into Windows instead (a process known as dual-booting). The only disadvantage of using Boot Camp was that you had to choose–either you booted into the macOS or Windows. The two operating systems remained entirely separate, so you couldn’t run Mac apps and Windows apps at the same time. If you wanted to run the Mac version of Photoshop while you’re at work, but maybe switch to Windows for a quick spot of Diablo 4 action at lunchtime, then you’d have to keep rebooting your Mac to switch back and forth between the macOS and Windows.
The other option is known as virtualization–sometimes also called emulation–and this is the approach taken by apps such as Parallels Desktop and VMware Fusion. Boot Camp is no longer available for Macs that have Apple Silicon, but Parallels Desktop and VMware Fusion have both been updated to run natively on Macs with Apple Silicon.
It’s also worth mentioning that there are two other options available (although they don’t actually involve installing Windows itself directly onto your Mac). Microsoft has its own streaming service, called Windows 365, which runs Windows on a special cloud server, and then allows you to stream Windows to your Mac via the Internet. This can be a useful option if you have a fast enough broadband connection, but it does require a monthly subscription fee, so it can end up being quite expensive if you use it regularly.
The other option is a program called CrossOver, available from Codeweavers, which cleverly allows you to run Windows apps and games on your Mac without even needing a copy of Windows at all. CrossOver costs $64 with 12 months of technical support, but it is quite a complex piece of software and it may not suit everyone. However, there’s a free trial available so that you can see how it works before deciding if you want to buy the full version.
For more options read Macworld’s round-up of the Best virtual machine software for Mac.
Virtual Machines
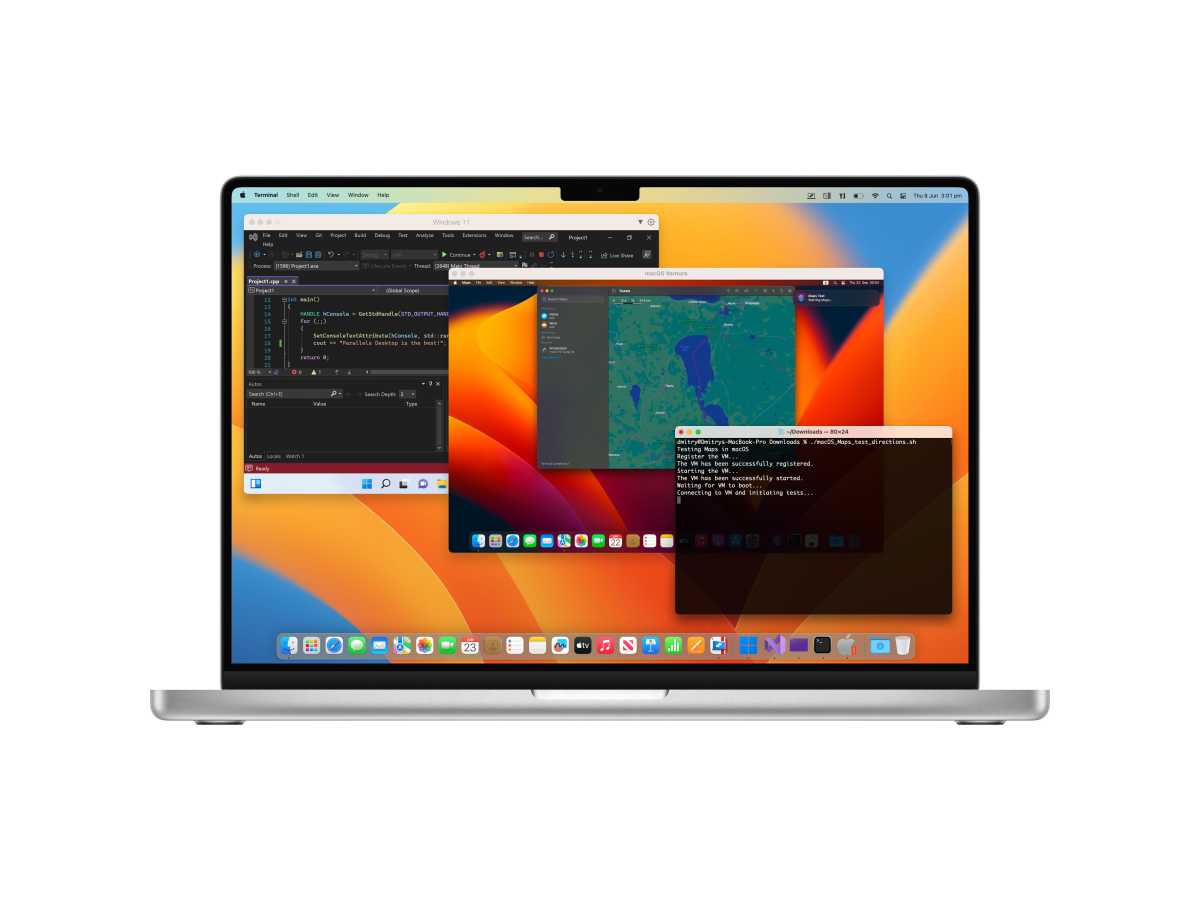
For most of us, virtualization remains the most straightforward and convenient option for running Windows and Windows apps on our Mac. Parallels Desktop and VMware Fusion have long been the two leaders in this field, and both programs are conventional Mac apps that can be installed on your Mac using the macOS, just like any other Mac app. These virtualization programs allow you to create a Virtual Machine (or VM) that emulates the physical hardware of a PC.
When you create a virtual machine on your Mac you assign a certain amount of your Mac’s memory and storage to the virtual machine, and this allows you to install Windows onto the virtual machine. You can then install other Windows apps onto the virtual machine as well, and run those Windows apps within the macOS itself, right alongside all your normal Mac apps. This is in contrast to Boot Camp on old Intel Macs, which forced you to switch between the macOS and Windows.
Being able to run Windows apps alongside all your normal Mac apps is really useful and convenient. The disadvantage of virtualization is that your Mac is effectively running two operating systems at the same time–macOS and Windows–so you need a pretty powerful Mac with plenty of memory and storage to run a Windows virtual machine effectively. Even with the most powerful Macs currently available, it’s hard to get good enough performance using virtualization to play the latest Windows games that need high-speed 3D graphics.
And, unfortunately, there’s one other complicating factor when it comes to using virtualization apps like Parallels Desktop and VMware Fusion on the latest Macs with Apple Silicon. Apple’s M-series of processors is completely different from Intel’s processors, and uses a different set of programming commands–known as an instruction set–for writing software, apps and games. The conventional version of Windows was written specifically for Intel processors, which made it relatively easy to run Windows on Macs that also had Intel processors. However, Apple’s new chips are known as Arm processors (as they are based on designs licensed from a U.K. company called Arm Ltd) and these Arm processors use an instruction set known as RISC (Reduced Instruction Set Computer), which is completely different from the instruction set used on Intel processors, known as x86. This means that the standard Intel version of Windows simply won’t run on Arm processors, so you can’t use it to create a Windows virtual machine that will run on a Mac with Apple Silicon.
Windows on Apple Silicon
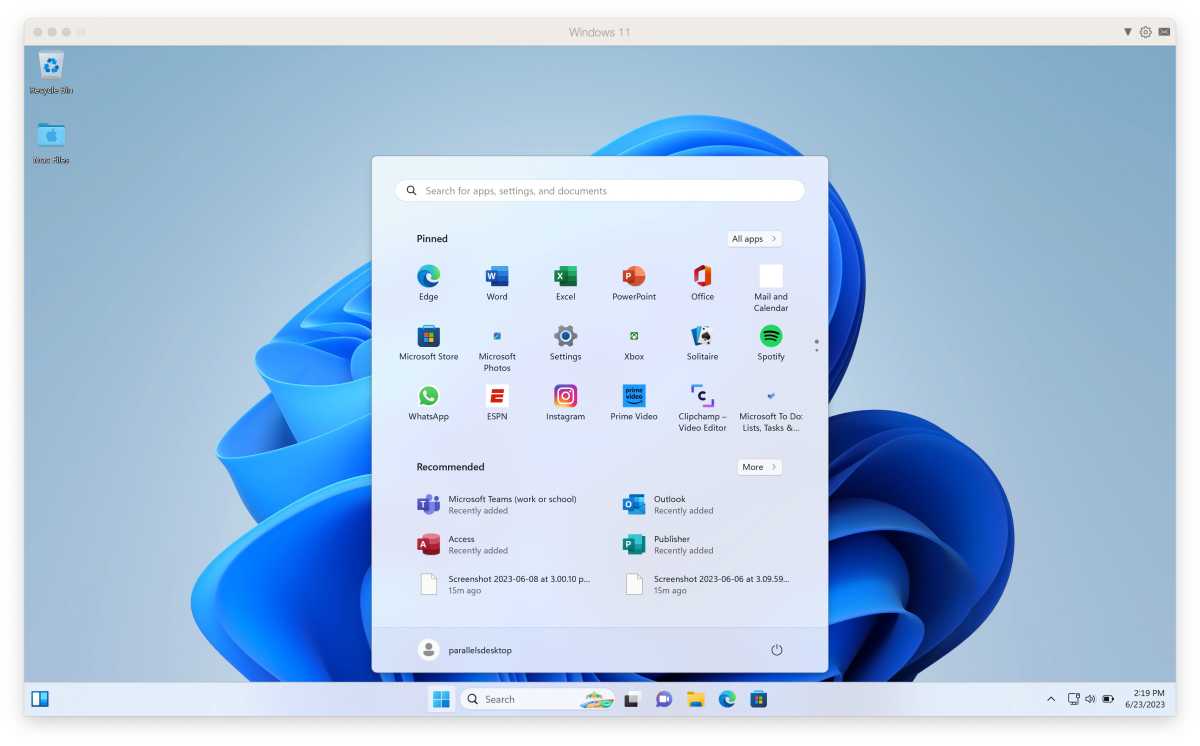
This is where things get even more complicated. There is an alternative version of Windows, known as Windows 11 On Arm, which is designed to be run on Arm processors, and is compatible with Apple’s Arm-based processors. This can be used with Parallels Desktop and VMware Fusion on Apple Silicon Macs in order to create virtual machines that run the current Windows 11 On Arm (actually getting your hands on a copy of Windows 11 On Arm might be a little tricky, but we’ll come to that in a moment).
But, of course, there’s one final spanner in the works. Most Windows apps are written for PCs that have Intel processors, and use Intel’s x86 instruction set. So, just as many Mac apps had to be re-written to run on Apple Silicon, Windows apps that were written for Intel processors also need to be re-written for Windows On Arm. This meant that early versions of Windows on Arm suffered from a serious lack of decent software, so Microsoft introduced its own emulation system that allows Windows On Arm to run apps that were written for the Intel version of Windows (similar to Apple’s Rosetta technology, which allows Macs with Apple Silicon to run older Mac apps that were written for Intel processors).
So when you use Parallels Desktop or VMware Fusion to create a virtual machine on a Mac with Apple Silicon, you may find that you’re using an emulation/virtualization program to run Windows On Arm, which then uses its own emulation technology to run old Windows apps that were written for Intel processors. Piling emulation-upon-emulation like that means that you may not get very good performance from your virtual machines.
Microsoft has produced an Arm version of Microsoft Office, and also some of its key developer tools, such as Visual Studio, so Mac-based software developers or business users who need to run the Windows version of Microsoft Office may still find virtualization a useful option. Microsoft is also encouraging other software developers to produce more Arm versions of their apps, but it’s slow going at the moment so running Windows On Arm and Windows apps on current Macs with Apple Silicon remains very much a work in progress.
How to get Windows on your Mac
The remarkable thing about Parallels Desktop and VMware Fusion is that they manage to hide (almost) all those complex details out of sight, underneath a slick, modern interface. Parallels provides a trial period so that you can try it out before buying the full version (from $99.99/£89.99, from Parallels). You can actually get Fusion free if it’s just for personal use – although this does require a rather tedious registration process – but business users do have to pay a license fee (from $149 from VMware). However, Parallels does a better job when it comes to installing Windows On Arm, so that’s what we’ll focus on here.
Foundry
Download Windows on Arm
Foundry
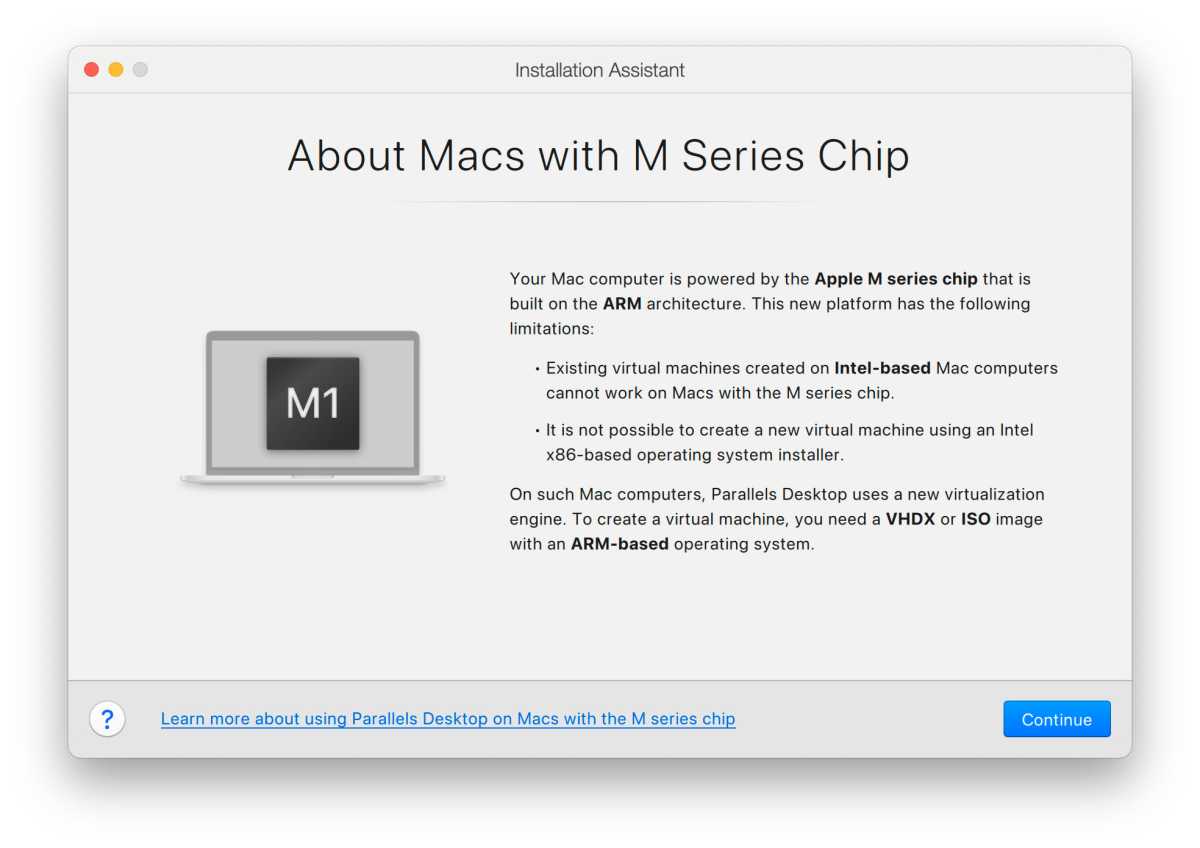
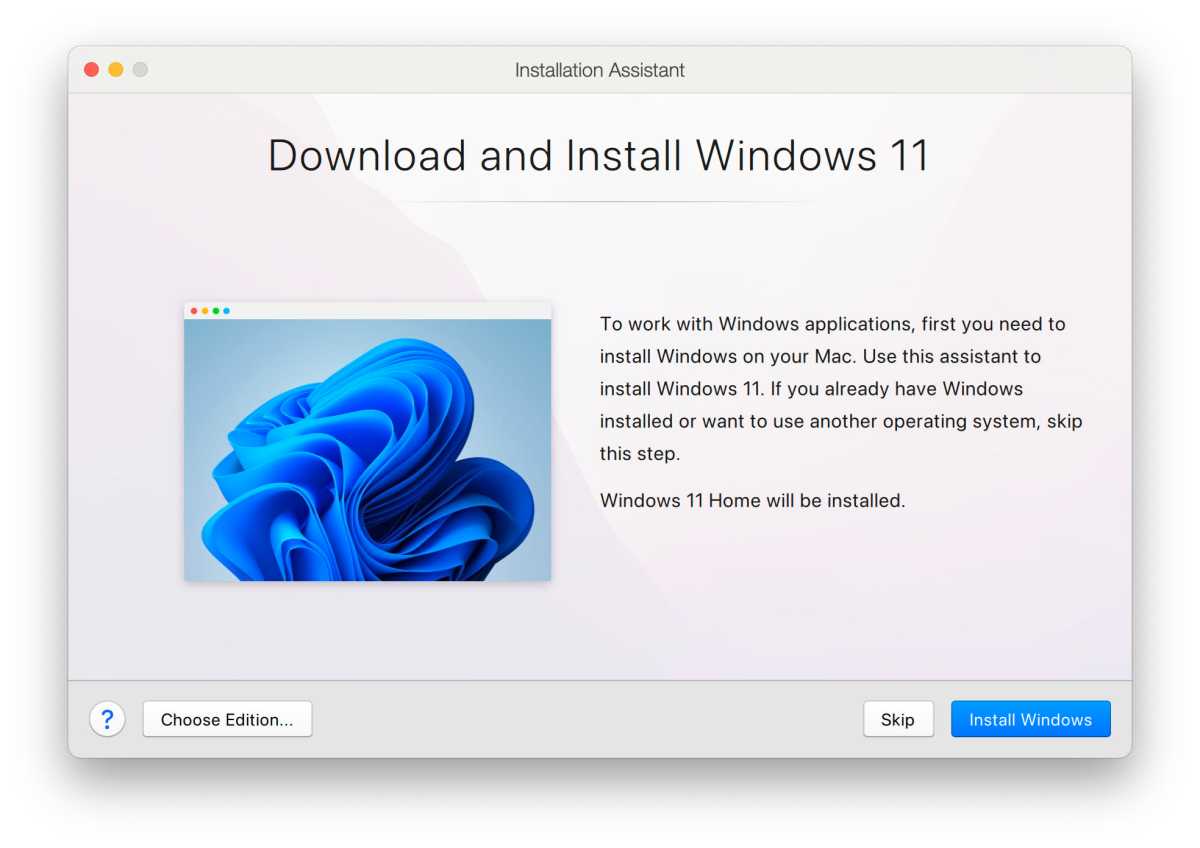
As soon as you launch Parallels Desktop on a Mac that has Apple Silicon (any M1, M2 or M3-series chips), the app provides some useful information about running Windows on Apple Silicon in order to help you get started. It then asks if you want to download and install a copy of Windows 11 On Arm (previous versions of Windows are no longer available, unfortunately).
Microsoft normally sells Windows On Arm only to PC manufacturers, developers, or business users with special licenses, but Parallels has worked closely with Microsoft and has been approved as an “authorized solution for running Windows 11 On Arm on Macs with Apple Silicon”. This allows Parallels Desktop to download and install Windows 11 On Arm automatically from right within the program.
Just launch Parallels Desktop, and its Installation Assistant will give you the option of purchasing Windows 11 On Arm from the Microsoft Store. If you’ve already got a license for Windows 11 then you may be able to use that here, or you can buy a new license from within Parallels Desktop.
Unfortunately, VMware Fusion doesn’t provide this option, and just leaves you to figure out how to buy Windows 11 On Arm by yourself.
Configure your Virtual Machine
Foundry
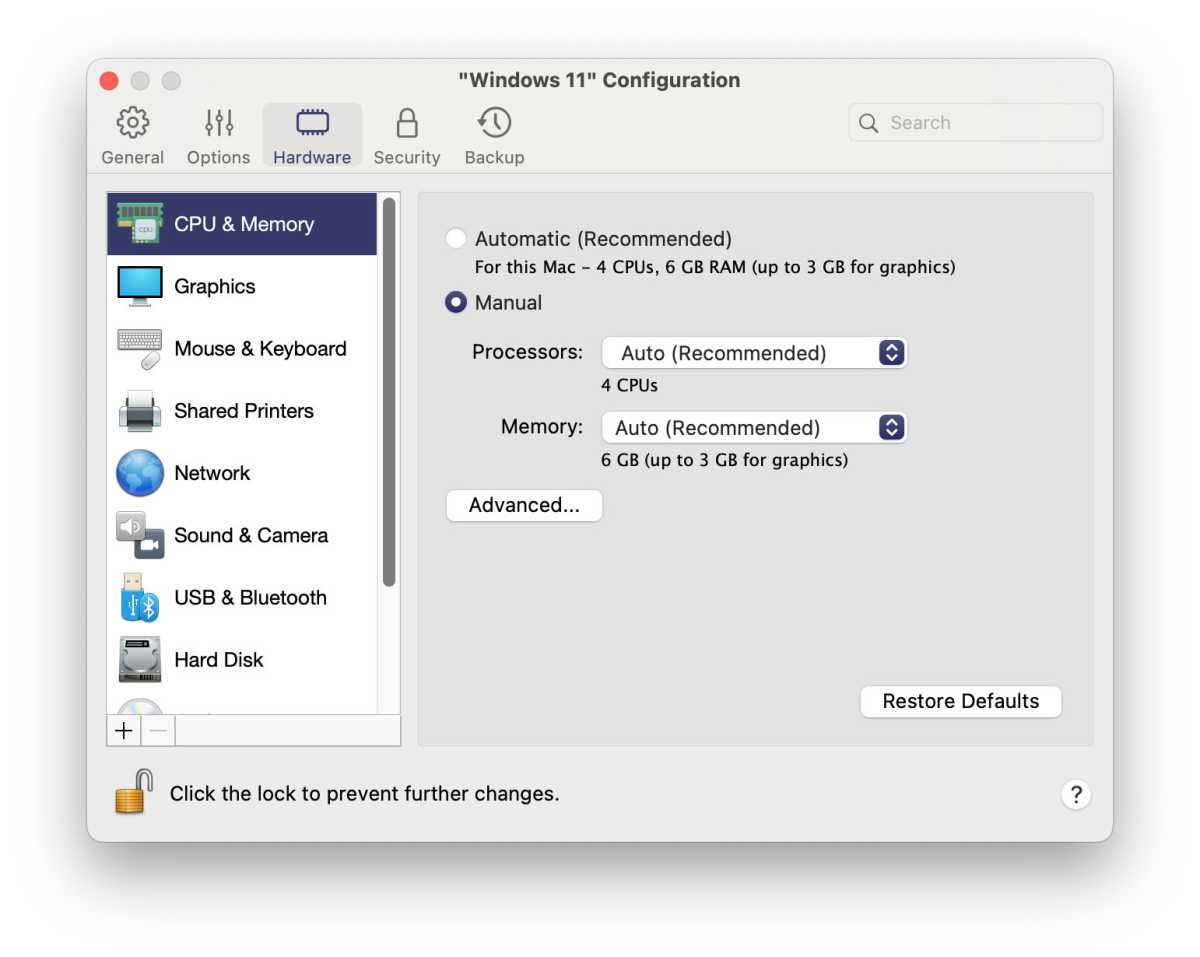
Once you’ve downloaded Windows, you can create and configure your new virtual machine (VM). You can choose how many of your Mac’s processor cores to devote to running the VM–which is a key factor that will determine how fast the VM runs. You can also specify how much memory and storage space are allocated to the VM too.
There are lots of other settings, such as the ability to control the way that Windows apps appear on the Mac desktop, or how Windows and Mac apps can share files. However, Parallels provides standard settings that generally work well, and you can then experiment and fine-tune your VM as you get used to working with it.
Run Windows on your Mac
Foundry
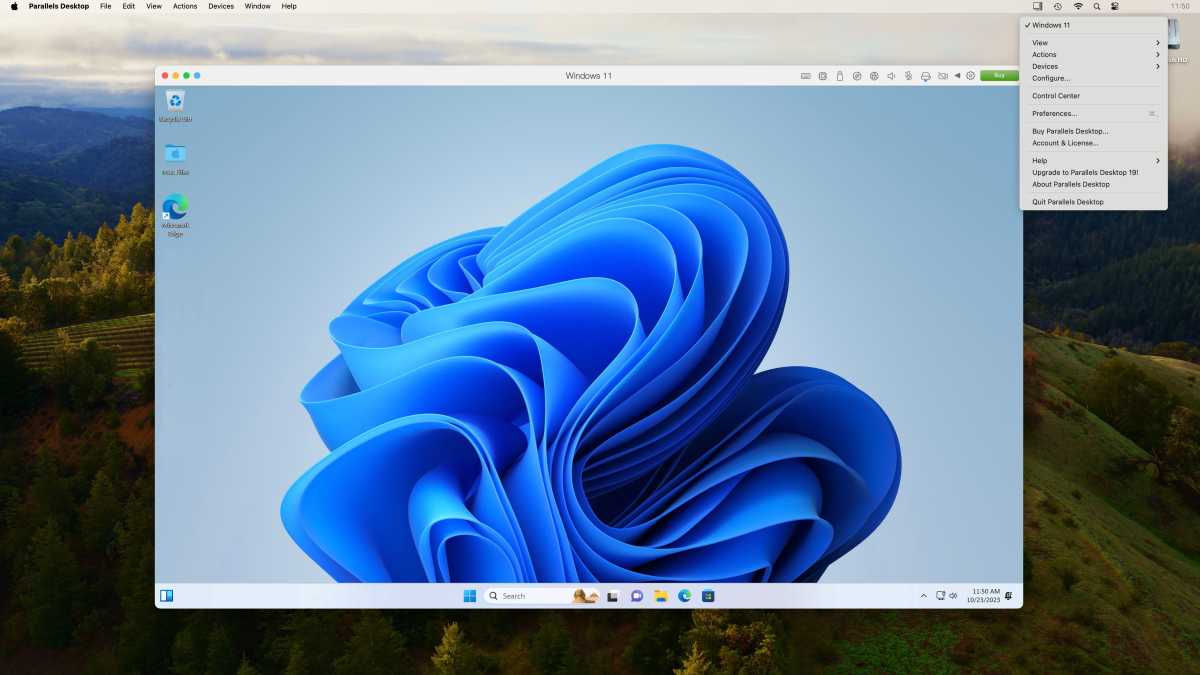
Here’s our Windows VM running on an iMac with a modest M1 processor. As you can see here, the VM starts off running in its own window, showing the standard Windows desktop. However, Parallels Desktop provides a Coherence mode that hides this window and just shows your Windows apps floating on the main Mac desktop, just like ordinary Mac apps. You can adjust the viewing mode and other settings using the Parallels pulldown menu in the main Menu bar.
This article originally appeared on macworld.com.


