Keeping sensitive images or video on your Android smartphone? You should consider protecting them from prying eyes, whether your collection is comprised of makeshift scans of tax documentation, vaccination records, or personal videos.
A secured folder requires additional verification—typically a PIN or biometric data like a fingerprint—to gain access. On Samsung phones, this feature is known as Secure Folder. On Pixels and select other Android phones, you can use Google Photos’ Locked Folder for the same purpose.
Getting set up takes only a few minutes. Here’s how.
How to set up Samsung’s Secure Folder
Secure Folder is available on higher-end Samsung phones dating back to the S6—you’ll know your phone doesn’t support the feature if you don’t see the option in Settings.
To activate this feature, open the Settings app, then select Biometrics and security. Then tap on Secure Folder.
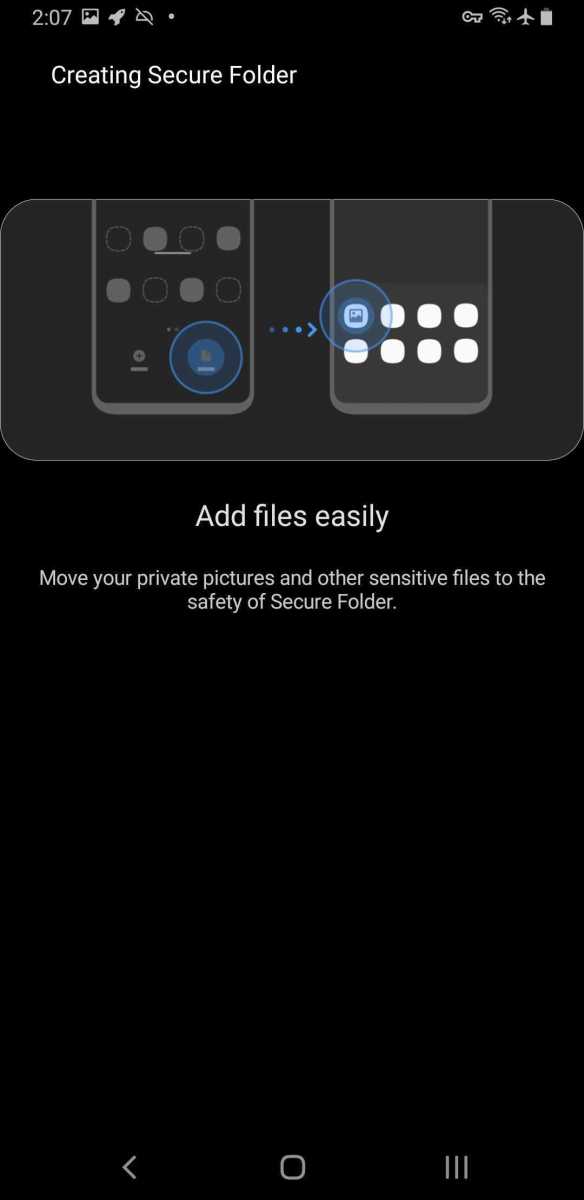
After agreeing to the terms and logging in with a Samsung or Google account, a “Creating Secure Folder” screen will appear. A second screen will follow, asking you to choose a lock type for the folder. A password is most secure, followed by a PIN, then a pattern. You can also enable biometric unlocks.

PCWorld
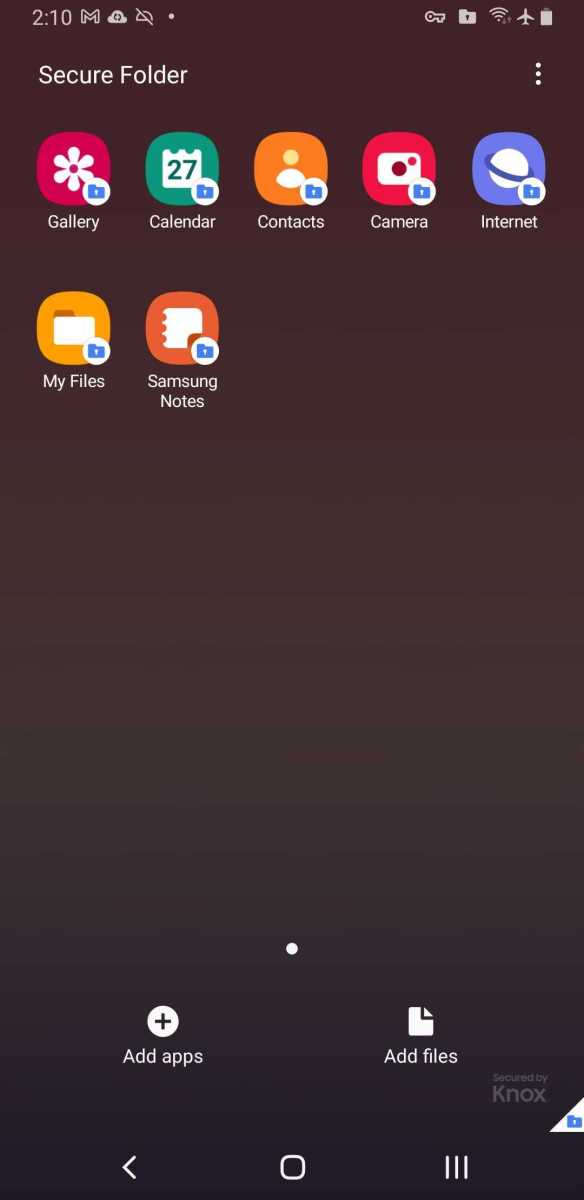
You can now use the Secure Folder to not only move over sensitive photos and videos, but other file types as well. You can also add files directly to the Secure Folder, as well as install apps—the latter is handy if you, say, want to keep others from knowing where you bank. You’re essentially in a separate sandbox that keeps its data stored apart from the rest of the device.
By default, anything in the Secure Folder isn’t backed up to the cloud—you have to set that up yourself. While in the Secure Folder, go to Settings > Backup and restore. You’ll need a Samsung account to set up backups (both automatic and manual).

The view within the Secure Folder. It functions a bit like a separate phone within your phone.
PCWorld
How to set up the Locked Folder in Google Photos
Google’s primary advantage over Samsung is that its Locked Folder is available to non-Samsung phones, with device support continuing to widen. However, Google Photos supports only photos and video, and anything in your Locked Folder also is stored only on your phone. (For other file types, you’ll need to use the Safe Folder in Google Files.)
That means if you have automatic backups enabled in Google Photos, any files in your Locked Folder won’t sync to the cloud. You will lose these photos if you wipe your phone, uninstall the Google Photos app, or clear the app’s data. You must upload them manually to a service while they’re outside your Locked Folder. If you prefer cloud syncing with walled off access for select files, you can try OneDrive and its Personal Vault feature instead.

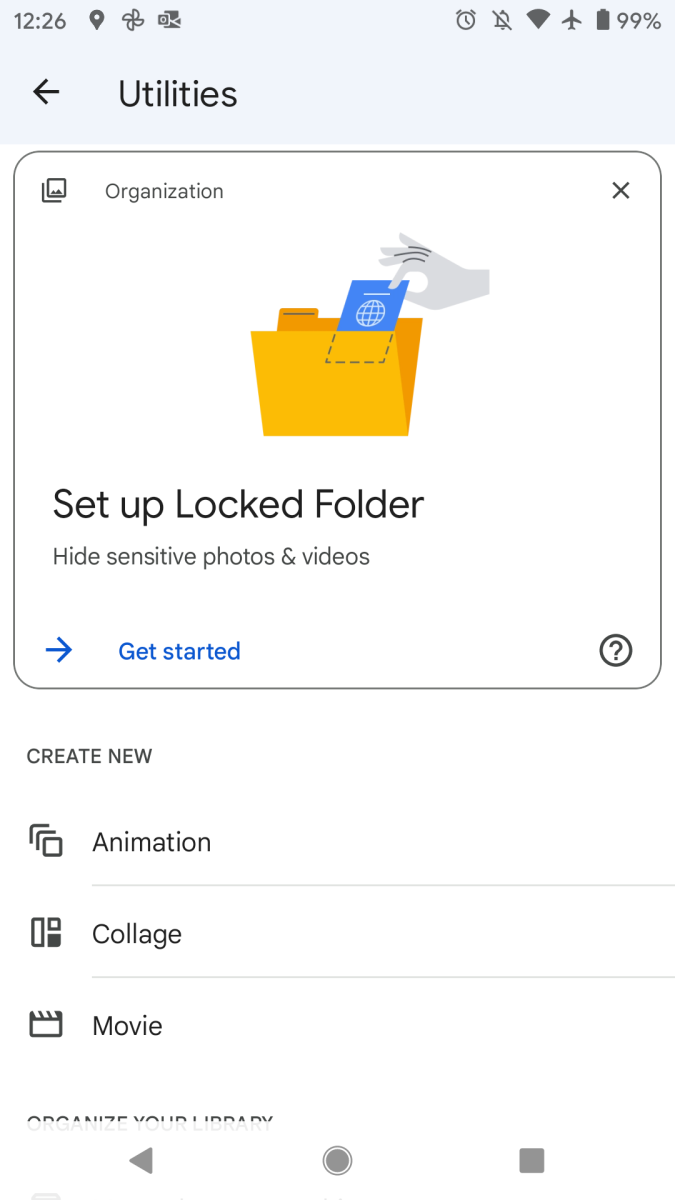
You may see this invitation to set up Locked Folder at the top of your Utilities menu. You can click on “Get Started” to begin, otherwise, follow the directions below.
PCWorld
To set up the Locked Folder, open the Google Photos app. Tap on Library at the bottom of the screen, then on Utilities in the upper-right corner. Find Locked Folder, then tap on it to begin the setup process. You’ll repeat this same navigation to access your Locked Folder later.
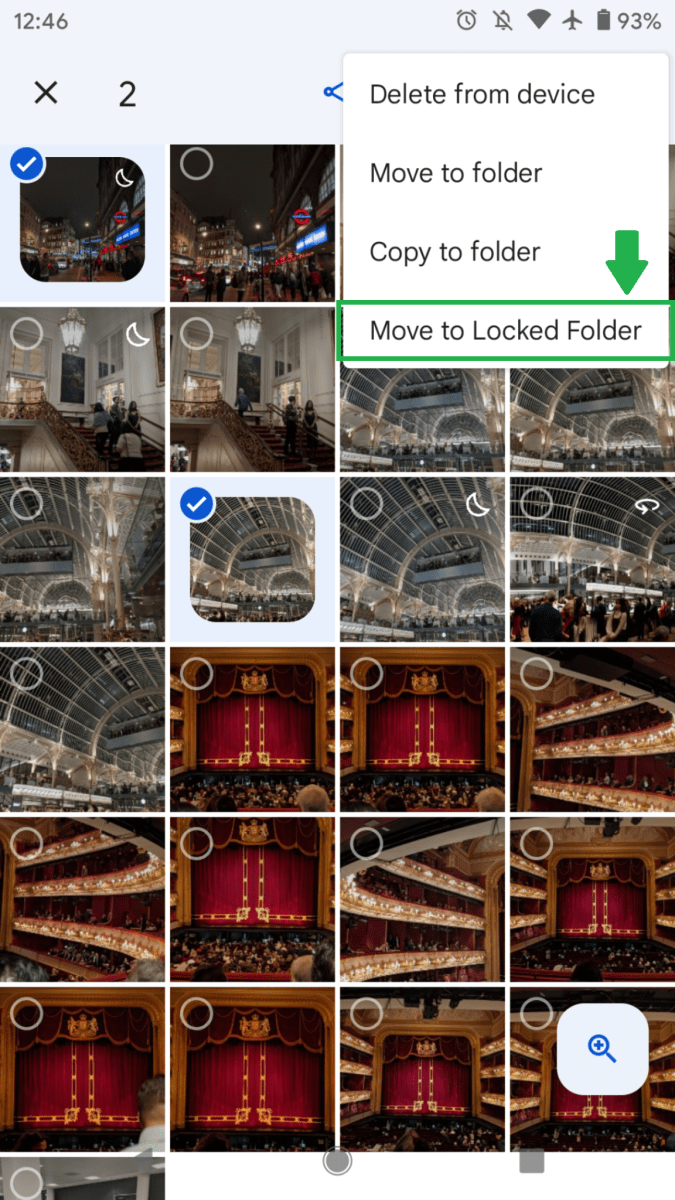
After your Locked Folder is ready, you can transfer over your photos and videos by long-pressing and selecting files, tapping the three-dot icon at the top right of the screen, and choosing Move to Locked Folder.

PCWorld
Pixel smartphones (Pixel 3 and newer) can also take photos or record video directly to the Locked Folder. In the Camera app, tap the folder icon in the upper right of the screen, then choose Locked Folder. Anything you capture will save directly to that folder, reducing the number of steps needed to ensure your privacy.


