The big difference between laptops and desktops is that the latter are, well, big: ideally placed on a nice comfy desk and festooned with accessories. But if you have a laptop already, you have all the components of a desktop, and then some. If you’re not going anywhere for a while, why not kick back and get the full desktop experience?
Here’s why: you probably don’t have all the stuff you need for a full desktop setup. But getting that stuff is relatively easy, and so is assembling it in such a way that getting your laptop in and out is a cinch. That way you get the best of both worlds: a full, comfortable desktop setup when you want it, and an on-the-go laptop when you need it. This guide explains everything you need to know to turn your laptop into a desktop workstation.
The good stuff: desktop components
The big advantage to building this setup is that you get to use your laptop with awesome, easy-to-use desktop components. (Oh, and you’ll also need a desk or a table, and a chair, obviously.) You can use as many or as few of these as you like, but here are the big ones:
Monitor: a larger external screen to give your eyes a rest and make movies and games really pop. You can use your laptop’s screen and an external monitor at the same time, or if your hardware supports it, multiple monitors for a full “battlestation.”
- A classic no-frills budget monitor—24-inch, 1080p display by HP for $125.
 Logitech
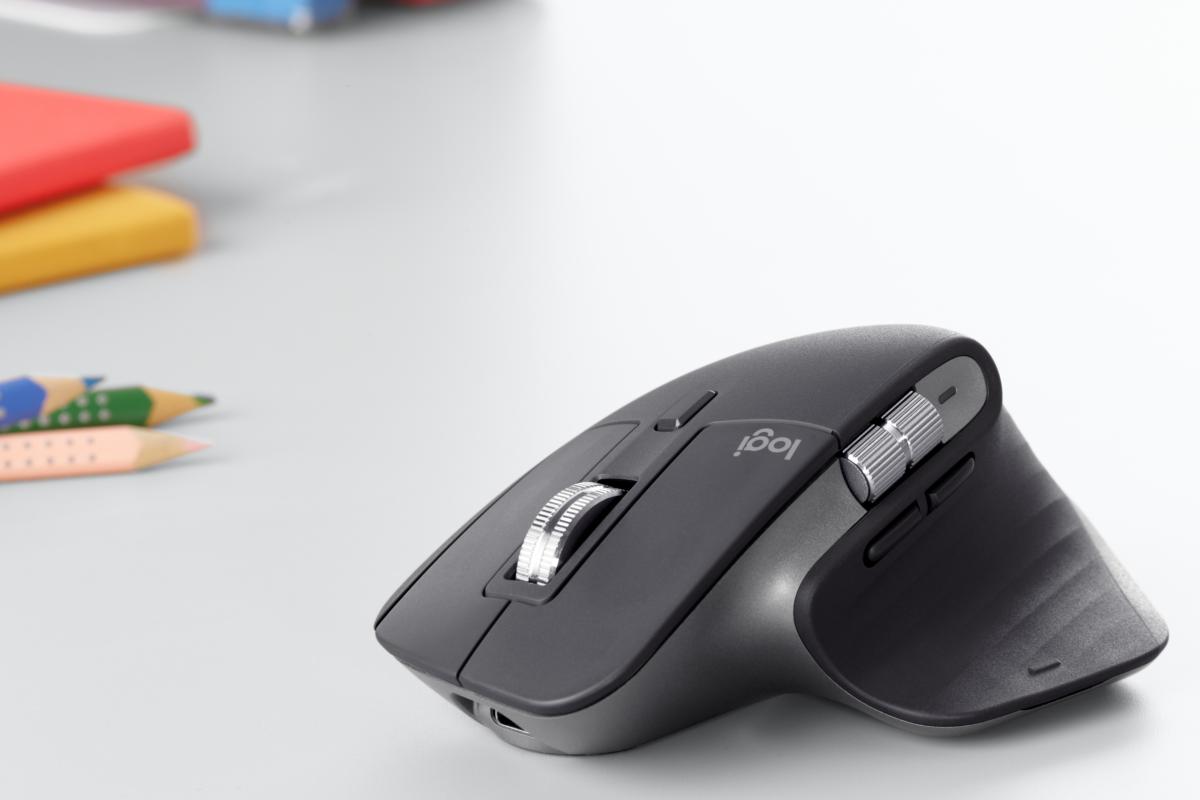
Mouse: Most laptop users are an ace at a trackpad, but even the best of them will agree that a mouse is the way to go. Get a USB model if you want speed, or Bluetooth if you want a connection that won’t take up a USB port.
Keyboard: A lot of users just stick with their laptop keyboard while using it at a desk station. But if you find yours particularly uncomfortable, or if you want to get into the growing mechanical keyboard scene, consider adding on a wired or wireless keyboard.
Speakers: Again, the speakers in your laptop will remain functional while you work at a desk, but for bigger, bolder sound, get a set of dedicated speakers. (Or if you prefer, a nice headset or a pair of true wireless earbuds.)
 Rob Schultz / IDG
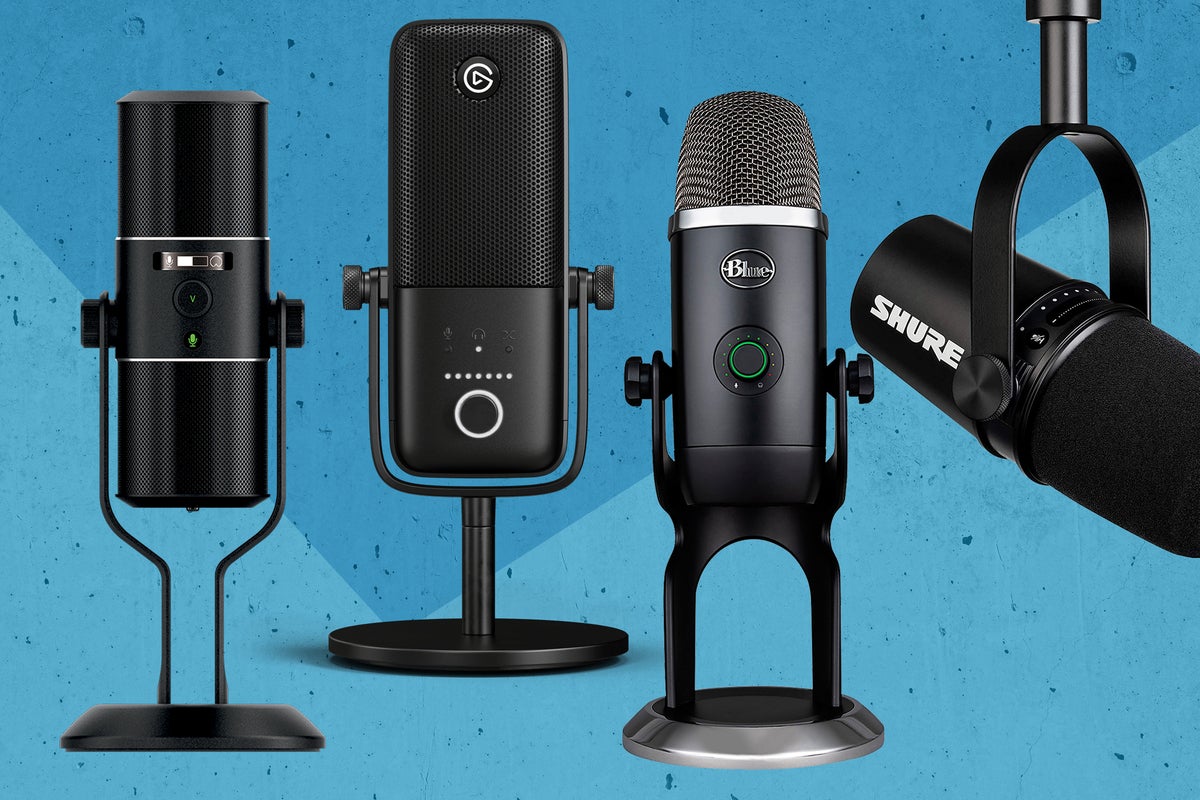
Other peripherals: Here’s where everything else goes. Maybe you want to add on a high-quality external webcam and microphone for meetings, or connect a game controller or an external hard drive. Maybe you want a hardwired network connection, a DVD drive, or a card reader for your digital camera. You can use almost any external accessory made for a desktop PC with a laptop, so long as you can find a way to connect it.
Keep your laptop awake with the lid closed
Note that it’s possible to close the lid on your laptop, keep it running, and have it connected to an external monitor, keyboard, and mouse. You’ll want to adjust your power settings so that the laptop “does nothing” when the lid closes in order to enable this. In Windows 10, this is in the Power Options of the Settings menu, under the “Choose what closing the lid does” link on the side. (Start button > Settings > System > Power & Sleep.)
Basic connectivity needs
How easy or hard it is to expand your basic setup without any extra hardware will depend on what kind of ports your laptop has, and how many. If you have a ten-pound Dell with every port under the sun, odds are pretty good you won’t need anything to connect all those components up. If you’re rocking a 2018 MacBook with just one USB-C port after you plug it in, well, it’s going to get tricky pretty fast.
Let’s break this down into connection types, shall we?
Video connections
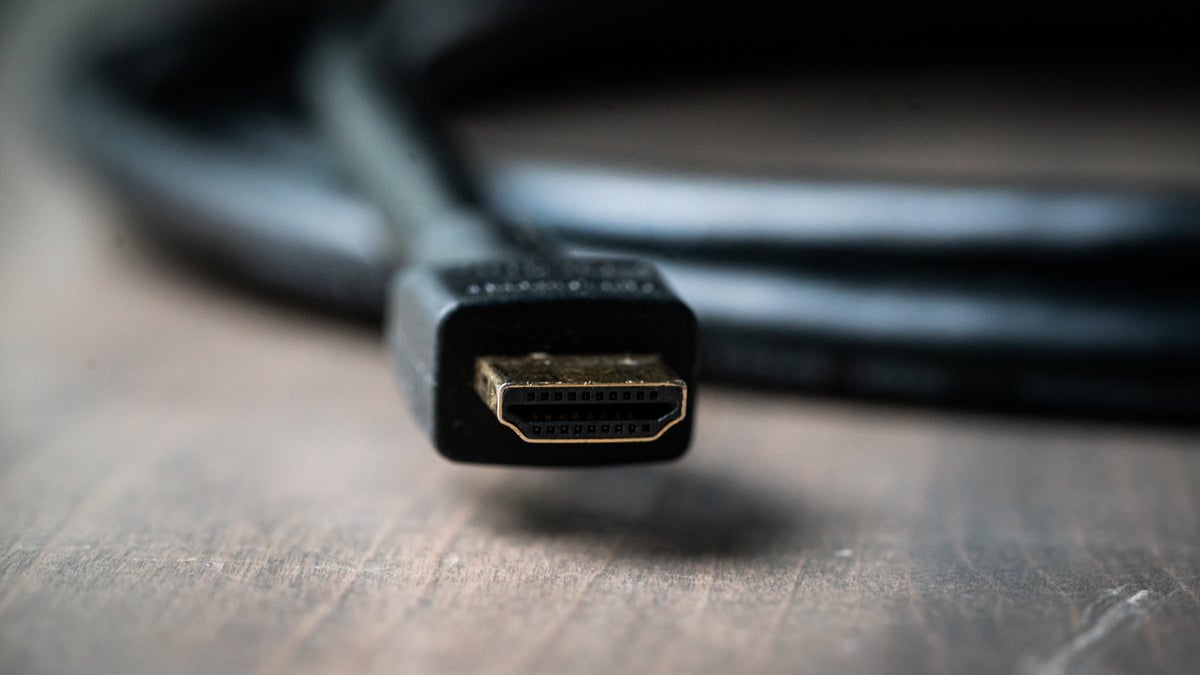
Most laptops have a maximum of one video connection. HDMI is the most popular at the moment, because just about every monitor (and television) made in the last ten years will have that port. All you need is an HDMI cable, and you’re good to go.
 Adam Patrick Murray / IDG
A direct HDMI cable is the fastest and easiest way to connect a monitor to a laptop.
If your laptop is rocking something a little more esoteric, like the Mini-DisplayPort on older models of the Surface or the VGA port still seen on some workstation machines, things might get a little more difficult. But you’re still looking at just an adapter cable: check what you have on your laptop, what you have on your monitor, and get a cable that works with both, like this VGA-to-HDMI number.
If you want to connect your laptop to multiple monitors, things become more complicated. USB-C has made this a lot easier: see the sections further down for more technical info. If your laptop doesn’t have USB-C, you’ll need to rely on a special adapter that can send video over a USB cable, like this one. These aren’t ideal, because they take up one of your USB ports and their performance is poor compared to a standard video cable.
Audio connections
This one is easy: most laptops, even those that can fit in a document envelope, include a headphone jack. If you’re keeping it simple and not using a dock, plug your speakers or headphones into the jack and you’re good to go. Alternately, you can connect headsets, headphones, or speakers wirelessly via your laptop’s Bluetooth connection.
If for some reason your laptop doesn’t have a headphone jack (or yours is broken), you can once again rely on a USB adapter to make do.
Network connections
If you’re setting up your desk in a place that uses Wi-Fi, great—just connect to it on your laptop the same way you always do. If you want faster or more reliable networking, you can plug an Ethernet cable from the router or the jack on the wall directly into your laptop’s Ethernet port.
But a lot of thinner, lighter designs are omitting the Ethernet cable these days. Once again, assuming that you don’t want to step up to a dock, you can get a USB adapter for your Ethernet connections.
USB devices
Boy, we’re connecting a lot of stuff up to USB, huh? If your laptop has just three, or two, or (perish the thought) one USB port, you might find yourself running out pretty quickly.
For a cheap solution, a basic USB hub can handle quite a lot of data and connections at once. So long as you’re using it for more basic peripherals—mice, keyboards, storage drives, etc.—you shouldn’t see any kind of slowdown. Try to make sure you get a USB hub with at least USB 3.0 speeds, and connect it to a compatible USB port on your laptop; some are still using the older 2.0 ports in some places.
Power
Well this one’s easy: to keep your laptop powered up and running, just use whatever adapter it came with and plug it in near your desk. That is, unless you have a newer laptop with a USB-C connection. This is where things start to get really interesting!
USB-C is the future
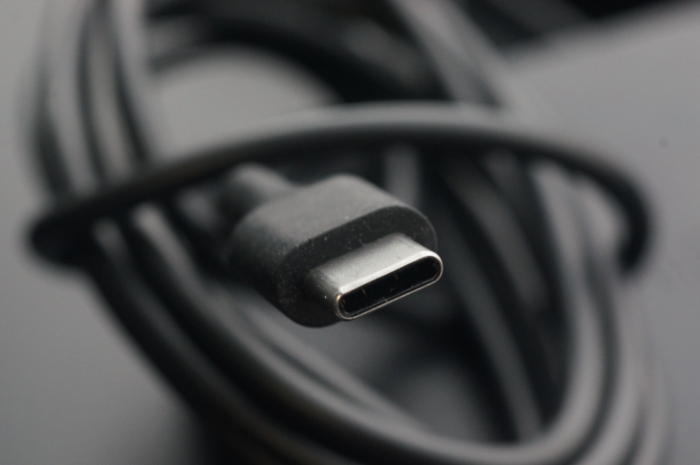
Most newer laptops come with at least one USB-C port. That’s the one that’s shaped like an oval, and doesn’t need trial and error to see if you’re plugging it in upside down or not. On most of these newer designs, the USB-C port also doubles as the power jack.
 Gordon Mah Ung
A USB-C cable.
See, USB-C is designed to be truly universal: on that one cable, it’s possible to transfer not just data, but power for your laptop (and anything it’s connected to), video to an external monitor (or monitors), sound to speakers, and even hardwired network data. In short: a USB-C port can, in the right circumstances, be your power input and your USB ports and your HDMI port and your Ethernet port, all in one.
This makes it possible, with the right laptop and equipment, to connect up to a dozen or so desktop components by plugging in a single cable. It’s the Holy Grail of combining laptop portability with desktop comfort.
 Mark Hachman / IDG
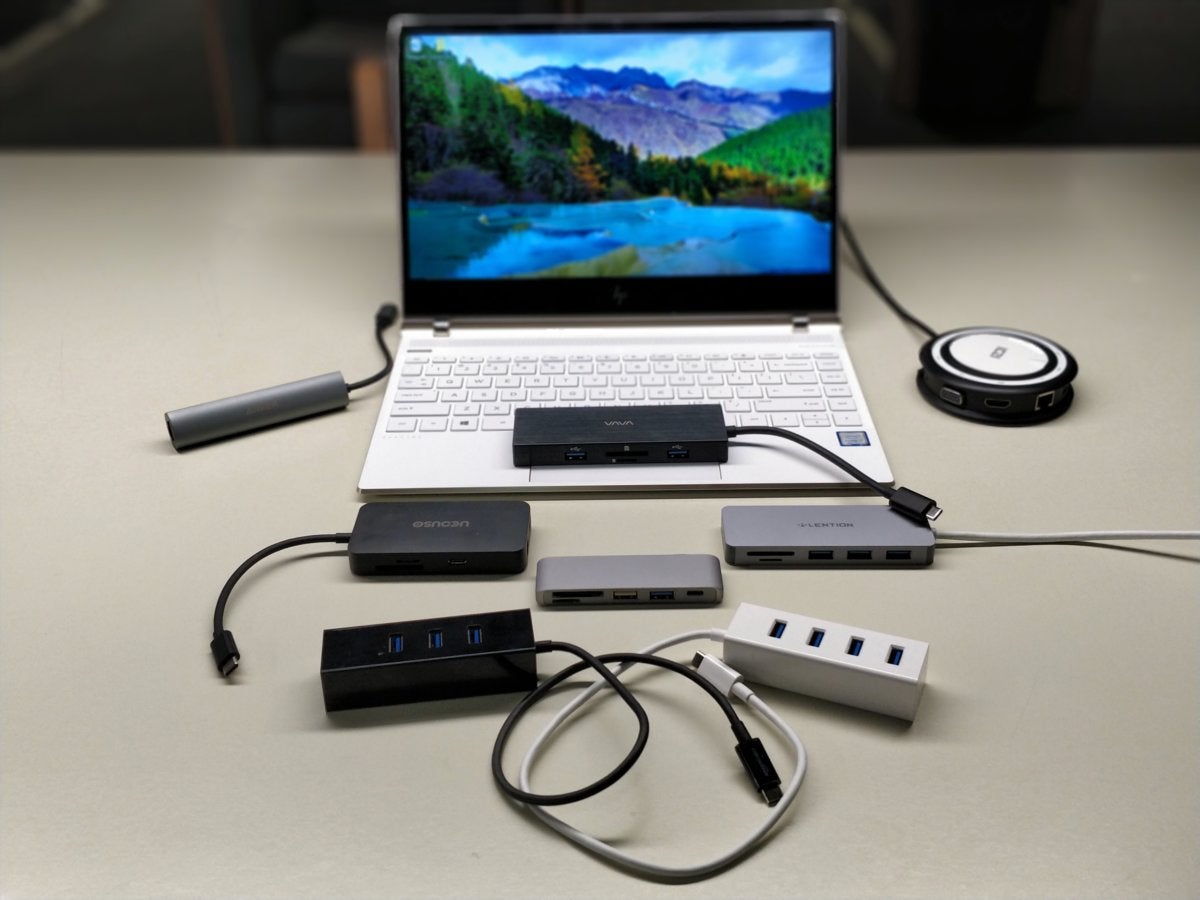
To get the basic benefits of a USB-C port, you can use an inexpensive dongle to add a bunch of ports in one, with power pass-through for your laptop charger. But if you’re ready to step it up, it’s time to look at USB-C docks.
Prepare for docking
USB-C docks mirror the functions of older “desktop docks” supplied for workstation laptops, often seen on Lenovo’s ThinkPad and Dell’s Latitude lines. But with the prevalence of USB-C, this kind of plug-it-in-and-go functionality is available to everyone.
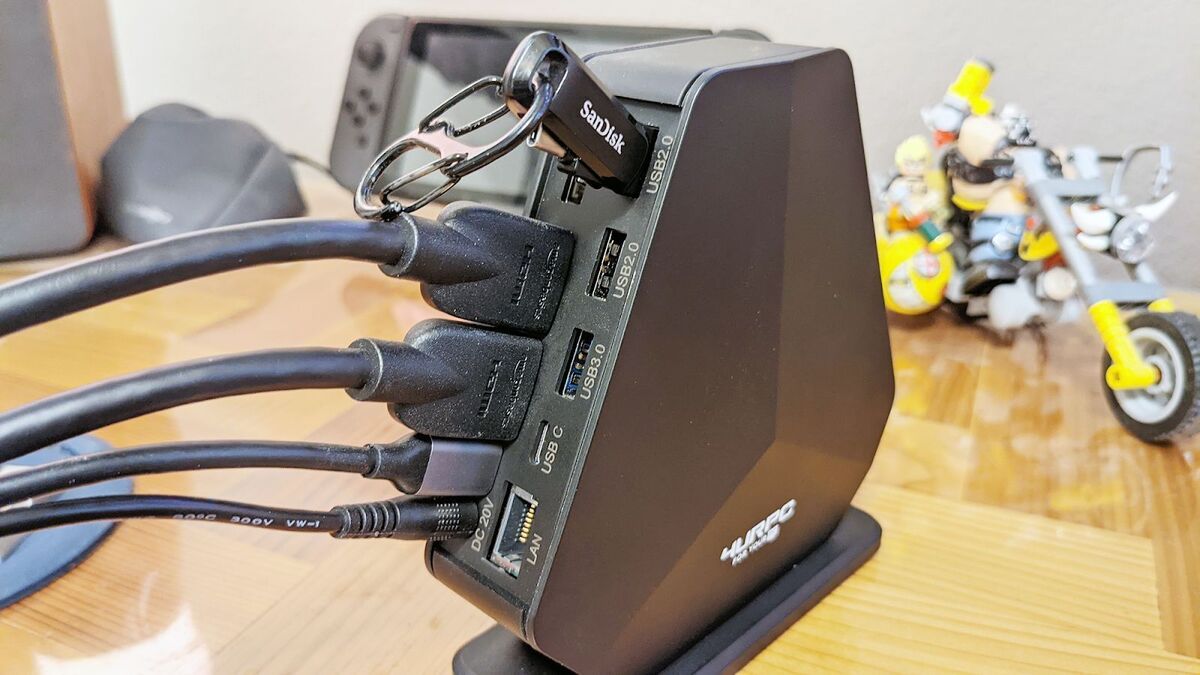
Take my USB-C dock, for example, a fairly typical one I found on Amazon. When I plug a USB-C laptop in with just one USB-C cable, I have access to up to three monitors over DisplayPort and HDMI, three USB 3.0 ports, another two USB 2.0 ports, an extra USB-C port, hardwired Ethernet, separate speaker and microphone jacks, and camera card readers. It is, in technical terms, dope as hell.
 Michael Crider/IDG
In addition to all those ports, and unlike USB docks from years past, the dock supplies my laptop with up to 60 watts of charging power over the USB-C cable. So not only do I get access to a smorgasbord of monitors, speakers, and USB gadgets, I don’t have to hunt for an open wall outlet. It’s fantastic!
Most laptops with a USB-C port can take advantage of this. There are a few exceptions: some cheaper models will only use USB-C for power and data, and lack the dedicated lanes of bandwidth for video. (The Microsoft Surface series is one notable, and frustrating, example.) Check to make sure that your laptop’s USB-C port is compatible with video out, and that the dock you buy can supply enough power over USB-C to keep it charged. Ideally the dock should supply the same amount of watts (or more) as the charging cable that came with your laptop.
 Dell
Dell
This monitor includes USB-C input for video and USB, Ethernet, and headphone ports — it’s a USB-C port built right in the screen.
There’s a neat alternative here, too: because USB-C can handle video, some newer monitors build in a USB-C hub right into the screen. Dell’s newest UltraSharp monitors can connect to a laptop directly over USB-C, power it up to 90 watts, and expand it with multiple USB, USB-C, and ethernet connections, all on a single cable. Some can even “daisy chain” to other monitors, creating a true multi-monitor setup over a single cable without even needing a dedicated dock.
Living the dream: USB-C eGPU docks
But what about games, I hear you cry? Can I still use my gaming laptop with a USB-C dock? Well, yes and no. USB-C docks are amazing, but they’re not miraculous. A lot of gaming laptops can’t get power over USB-C, because their charging needs are just too high, and many docks aren’t compatible with the kind of high-speed, high-resolution performance monitors gamers own.
In those cases, it’s still best to plug your gaming laptop directly into the wall, and then plug your monitor in over HDMI. A bit old-fashioned for 2021, but needs must.
But what if there was another way? A way to keep a svelte portable laptop on the road, but a beast of a gaming or workstation PC at home, all running on the same hardware, and all connected with a single cable? Gamers, let me introduce you to a little-known gadget called the external GPU.
An eGPU enclosure, or “external graphics dock” as it’s also known, is basically a little box that holds a full desktop-class graphics card. You hook up one or more monitors directly to the GPU, then plug your laptop into the enclosure via USB-C. Not only does this significantly boost the gaming power of a thin-and-light laptop, it means you can use huge, high-res, high-refresh monitors with a laptop without sacrificing speed by going through a hub.
Some of these enclosures include extra USB ports for connecting even more peripherals, and they deliver plenty of power over USB-C to keep your laptop juiced up. Plug your laptop in and you have a massively powerful gaming PC, unplug it and you’re ready to take all your files and programs with you on the go. The best of both worlds!
But there is a downside. External graphics docks are still very niche, so they’re a little hard to find. They’re also very expensive—much more so than a standard USB-C dock. We’re talking multiple hundreds of dollars just for the enclosure, not counting the graphics card that actually goes into it. (Some are sold with the GPU already installed, for the commensurate increase in price.) And of course, none of that includes the cost of your laptop, monitor, and other add-ons.
So an external GPU setup is pricey. It’s also complex: while it can do some truly amazing things, it’ll never beat the performance of a desktop PC with the same GPU installed. You’ll want a powerful laptop to take advantage of it, too: high-end processor, fast storage, plenty of RAM.
But if your budget knows no limit, and you want to do absolutely everything possible with just one machine and one cable, it might be the way to go.


