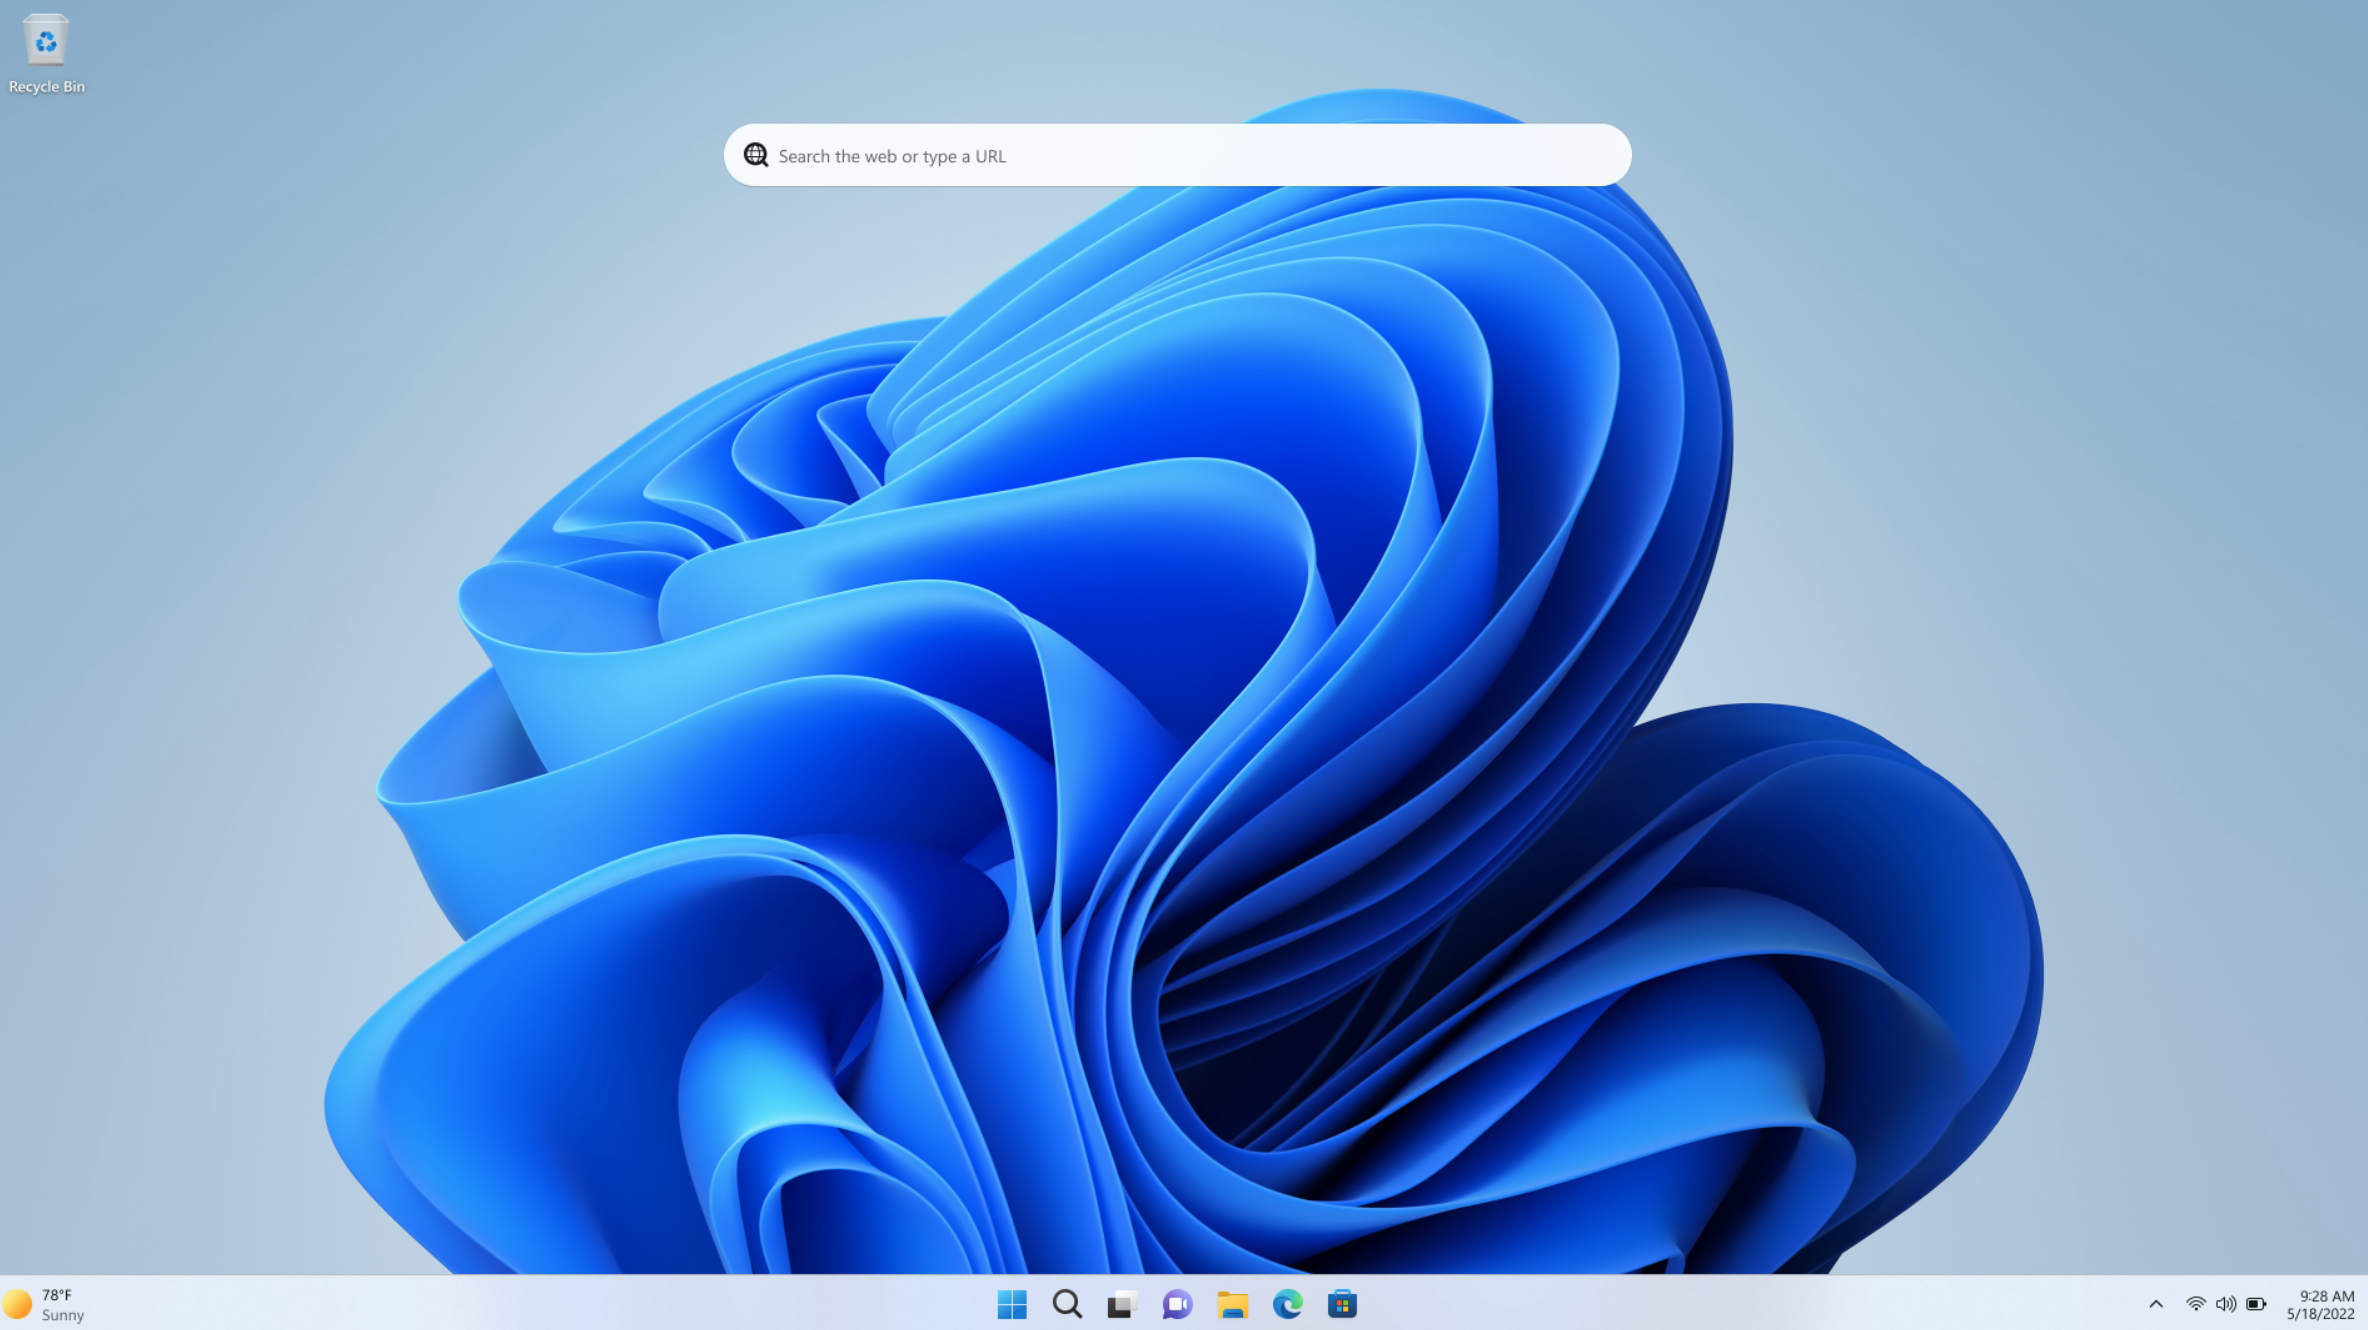
Microsoft releases a new version of its two operating systems Windows 10 and 11 every autumn. However, the software company has only delivered new features for Windows 11, limiting Windows 10 to basic upgrades alone.
Windows 10 also received an update a short time later, but you won’t find any real innovations. It’s limited to “improvements that affect the quality, productivity, and security of Windows 10,” per Microsoft.
That’s disappointing for Windows 10 users — but you’re not fully left behind. Here’s how you can implement the new Windows 11 features into Windows 10 as well.
What Windows 11 Explorer has to offer
After years of stagnation, the Windows File Explorer is increasingly the focus of Microsoft developers. A feature that has been planned for years has made it into Windows Explorer with Windows 11 22H2: displaying multiple folders in different tabs. A new tab can be opened with the key combination Ctrl+T or the “+” button.
This is practical if you want to switch quickly between folders, for example to copy files. With the impending Windows 11 2023 Update, Microsoft will allow Windows Explorer to unpack Rar and 7-Zip files as well as the tar.gz and tar.bz2 archives commonly used under Linux. So far — as with Windows 10 — only Zip archives are supported, but unpacking should be faster in the future.
Files: Installing alternatives to Windows Explorer
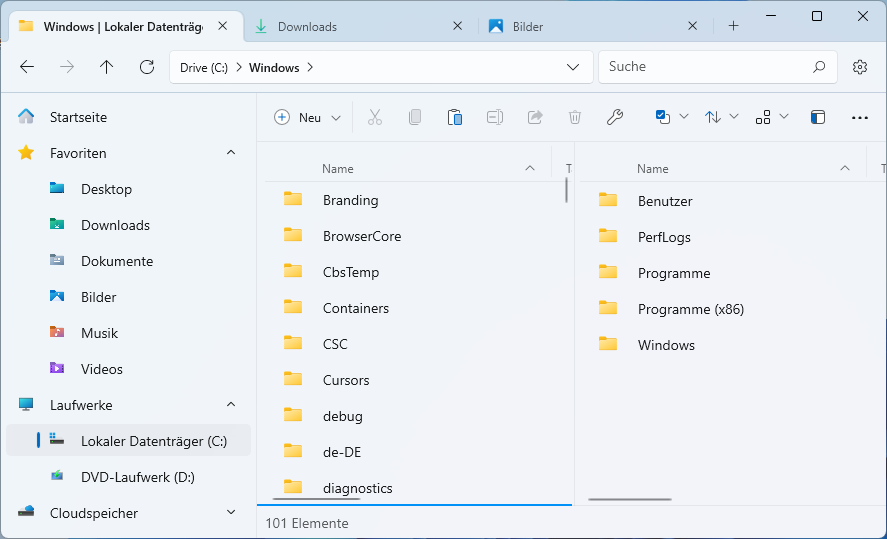
Windows Explorer replica: The Files app hardly differs visually from Windows Explorer. The tool also offers tabs for Windows 10 and additionally a two-panel view.
IDG
For those who are used to Windows Explorer, the Files app is probably the best alternative at the moment. When installed via the Microsoft Store in Windows 10, Files costs $8.99, which you use to support the project. You can find a free download on Github. Files can also be installed free of charge via the Microsoft Store for Windows 11.
Files looks almost like Windows Explorer and can be operated in the same way. However, there are considerably more options. In the context menu of the tabs, for example, you will find Duplicate Tab and Open Tab in New Window. A new tab can be created with Ctrl+T or the “+” button. If you prefer to work with a split view, you can go to New panel in the three-point menu on the far right of the toolbar. This allows two folders to be displayed side by side.
Configure files: Useful options can be activated in the settings, which can be reached via the cogwheel symbol at the top right. Under General > Start settings you can select Continue where you left off. Files then remembers the open folders and restores the view at the next start. In the Appearance section you can activate the Dark mode and also set other colors for the window.
Dealing with archive files: Via the context menu item Compress, files or folders can be packed into archives in the Zip and 7-Zip formats. Compress > Create archive leads to a dialogue in which you can specify the name and format as well as a password for the encryption. There are also settings for the compression level, and large 7-Zip archives can be saved in smaller individual files (“split size”). Zip, 7-Zip, and Rar archives can be opened by double-clicking, the contents viewed or files extracted.
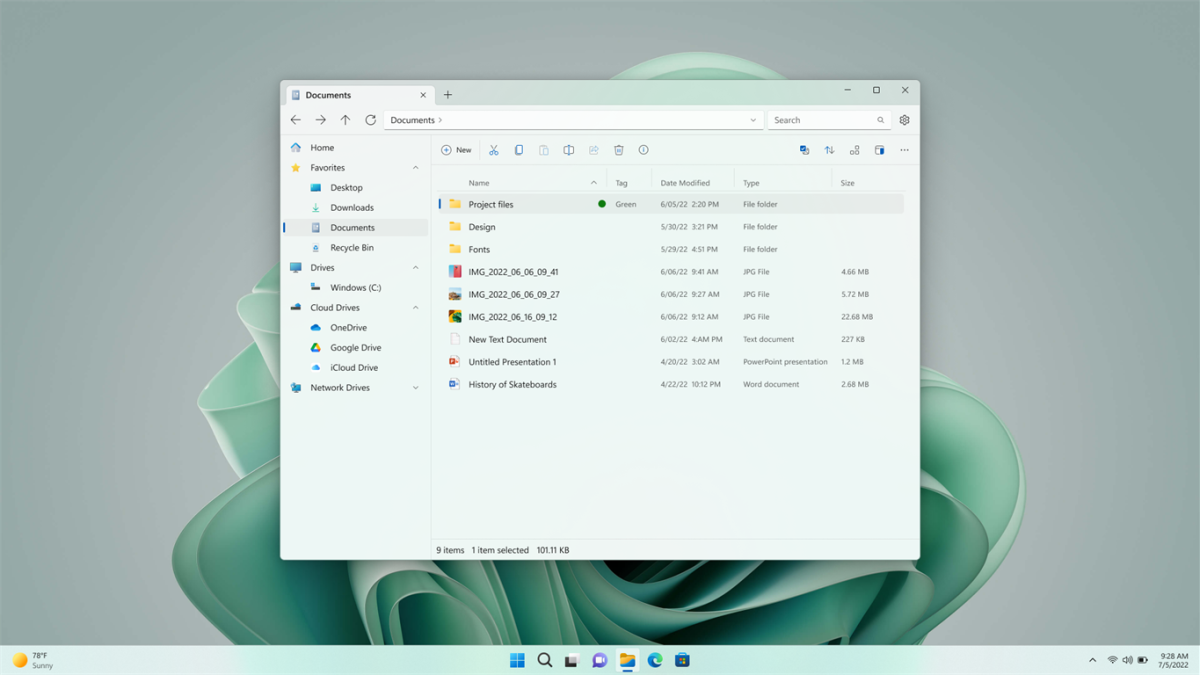
The Files App
Microsoft
Other features: For the organization of files and folders, you can assign a tag such as “Home” or “Work” via the context menu item Edit tags, which Files displays in the Tags column. In the settings, activate the tags option under General > Widgets. The start page then shows Tags in addition to Quick Access and Drives, and the folders and files can be opened with a mouse click.
It is also possible to search for items with tags if you prefix the search term in the field at the top right with tag:. In the settings under Tags you can change the designations and add new tags.
The disadvantages of Files: In our tests, the tool mostly worked reliably, but occasionally it crashed. Compared to Windows Explorer, Files often opens folders and drives containing numerous items with a slight delay.
Windows Explorer with Tabs

Two new Explorer functions of Windows 11 also in version 10: on top the practical tabs, below that the used capacity of OneDrive and other cloud storage.
IDG
It took a long time for Microsoft to add tabs to Windows Explorer. The practical feature, which you know from web browsers, enables the file manager to switch quickly between different folders and to copy or move data conveniently.
With Clover and QT Tab Bar, you have two tools that also equip Explorer with tabs under Windows 10. If you decide to use QT Tab Bar, install the tool, restart the PC, and open Windows Explorer. Now click on the down arrow in the View tab on the right under the Options symbol and activate the Qttabbar list entry. The new tab bar now appears in Windows Explorer.
The tabs are more closely aligned with the new Explorer design of Windows 11 with Clover. With this tool, however, you have to make an effort because the setup wizard shows Chinese characters. This is not a problem, however, because you only need to click the central button at the beginning and end of the installation. After that, the Windows 10 Explorer has tabs.
Tabs and window groups for all programs
Microsoft has been planning a function that allows you to group several windows for several years. So far, however, nothing has been seen of this idea in Windows. Groupy offers more or less the functions that Microsoft may be planning for the future, and then some. You can try out the program free of charge for 30 days. A license for five PCs costs $9.99.
The first time you start Groupy, click on “Start 30-day trial;” then you have to enter your email address. In the confirmation email, click on the activation link.
Groupy adds a second tab bar above the title bar of the windows. In Windows Explorer the bar is always visible, in other windows it is only visible when you move the mouse to the area above the title bar. In Windows Explorer, a click on the “+” button opens the currently displayed folder again in a new tab. You can now navigate to different folders in both tabs. If you drag a file with the mouse from the Windows Explorer window to the other tab, the tab is activated and the file can be moved to the folder. To copy the file, press the Ctrl key.
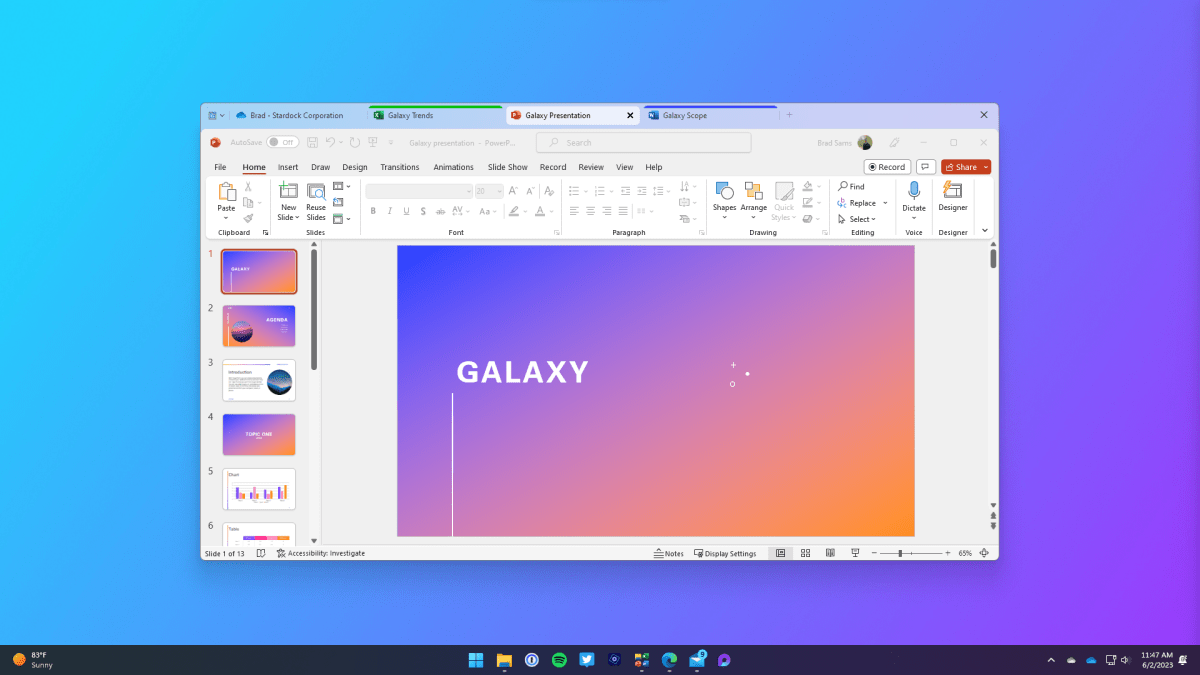
Tabs with Groupy: The tool builds a bar with tabs above the title bar. These can display not only folders, but almost any application.
Groupy
Proceed in the same way for any other program: Open Windows Explorer and, for example, the Windows editor Notepad. Click on the Notepad window in the Groupy bar with the mouse and, while holding down the left mouse button, drag it to the upper area of the Windows Explorer window until Insert into group here appears. As soon as you release the mouse button, a new tab appears. Repeat this with all windows that you want to dock as tabs. You can undock a tab by simply dragging it away from the window and onto the desktop.
Alternatively, use the small button with the down arrow in the Groupy bar. In the menu you will see a list of open windows. Select the window for which you want to create a tab. Use All unordered windows on this monitor to create tabs for all windows.
You want to continue where you left off? In the context menu of a Groupy tab, select Group > Save group as, give it a meaningful name and click on Save. To load the group again later, go to Group > Saved Groups in the context menu and select the desired one.
Fill level of the cloud storage
In addition, the Explorer in Windows 11 now shows the data fill level of OneDrive. This useful feature can also be retrofitted and extended to other cloud storage right away.
This is how it works: Install Raidrive including the Runtime and Visual C++ modules that may be additionally required. After starting the program, click on + Add at the top, activate the entry OneDrive in the Personal tab and select a free drive letter for Drive. Clicking on Connect takes you to the OneDrive login, where you log in with your Microsoft account and allow Raidrive access to your cloud. To see the used storage space in Windows, click on View > Tiles or View > Contents in Explorer. In the same way, you can integrate Dropbox, Google Drive, et al into Explorer via Raidrive.
Snap Bar, Clipchamp, and Task Manager with Efficiency Mode
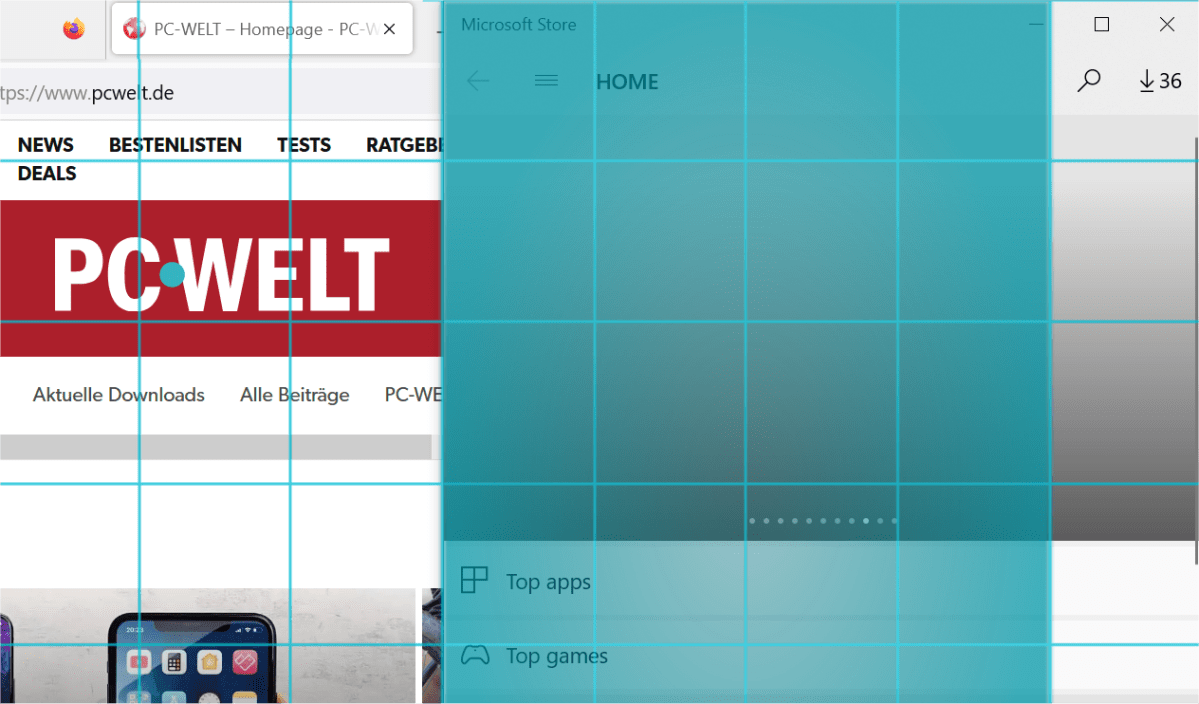
The Windowgrid tool makes it possible to arrange open program windows on the computer monitor as desired via the desktop grid that appears.
IDG
With Windows 11 version 22H2, Microsoft has expanded the Snap Layouts for quickly arranging program windows on the screen with the new Snap Bar. Instead of clicking precisely on a function icon, one simply drags an open window to the top of the desktop and selects the desired predefined placement.
Windowgrid also makes it possible to arrange windows under Windows 10. To do this, click the left mouse button at the top of the window, move it minimally, and now also press the right mouse button. This places a grid over the desktop. As soon as you release the right mouse button, you can place the window in the grid as desired by dragging it with the left button. Sounds complicated, but trial and error makes it immediately clear.
Another alternative is the Microsoft PowerToys (in the Microsoft Store) with the “FancyZones” feature. Because FancyZones offers many possibilities for placing and docking windows, the tool requires some training. Fortunately, we’ve got a FancyZones primer to help you wrap your head around it.
Also not limited to Windows 11 is the new video editor app Clipchamp, which is available under Windows 10 in the Microsoft Store. If the Store and Store apps are up to date, Windows 10 automatically offers the new app when the previous “Video Editor” app is called up.
Microsoft highlights the new efficiency mode in the task manager of Windows 11 version 22H2. This is not a unique feature, however, because it is already included in Insider builds of Windows 10 as “Eco Mode.”
It has not yet made it into the regular autumn update, but even without it you can prioritize processes without terminating them completely. To do this, right-click on a process entry in the Details tab of the task manager and continue with Set priority: In the test, the Low option reduced the CPU load of a demo application from almost 100 to 65 percent.
Alternatives to the Windows Sandbox
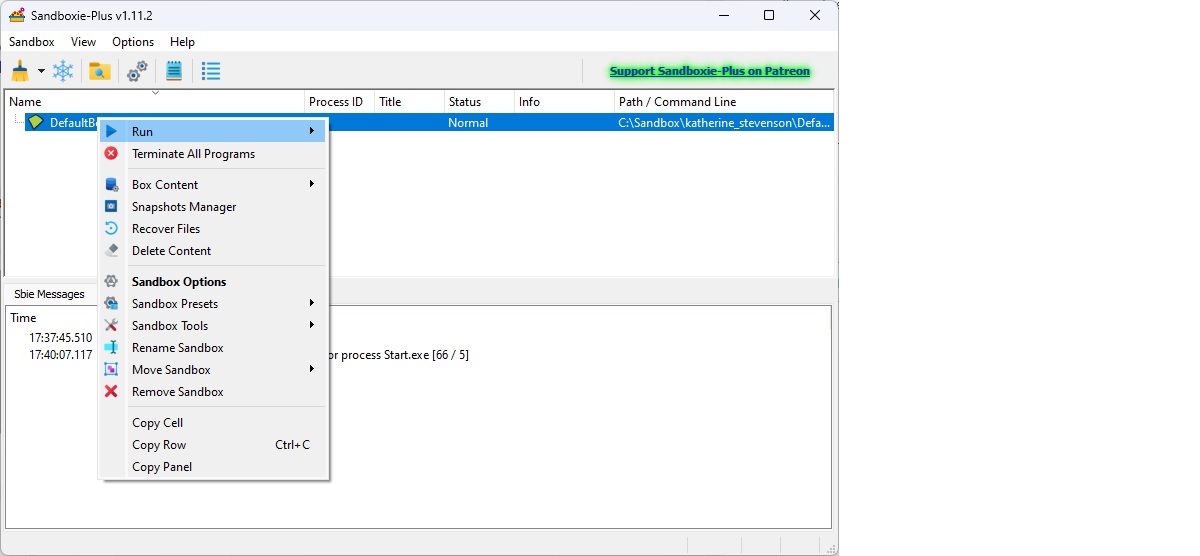
Sandboxie offers a safe environment to try out unknown software without risk. Virtual systems with Virtual Box or Vmware Player require more effort
Foundry
Microsoft has already introduced the sandbox for safely trying out software and system settings in 2019, i.e. in Windows 10 Pro and Enterprise. It has remained limited to the two professional versions, but since the autumn update, the virtual system no longer loses all changes when rebooting as it did before — but only under Windows 11. Sandboxie Plus does the same and runs under Windows 10 including Home Edition.
This is how it works: After installing and starting Sandboxie, right-click on Sandbox DefaultBox > Start in Sandbox > Start Program > Search on the control surface. In the Programs or Programs (x86) folder, select the executable file of the software that is to start in the sandbox. In the next step, activate the option Start as UAC administrator, click on OK and, depending on the setting of the user account control (UAC), on Yes.
If you want to set up Windows as a complete virtual system, use VirtualBox or VMware Workstation Player. The ISO files for installing Windows 10 or 11 are available from Microsoft at www.microsoft.com/software-download.
The instant recovery tools Reboot Restore Rx and Time Freeze are convenient alternatives. They discard all changes made in the meantime and thus also remove potential malware. The tools also work with virtualization, but the virtual system does not have to be restarted.
Add Smart App Control
With “Smart App Control” (SAC), Microsoft has introduced a function in Windows 11 version 22H2 that was previously reserved for “Windows in S-mode” — namely, to rigorously block everything that the system does not explicitly classify as harmless. This is a significant difference to conventional virus protection. The latter only warns or blocks what probably contains malicious code.
The new function uses artificial intelligence and certificate-based signatures. How it will prove itself in practice remains to be seen. SAC does not currently provide for manually set exceptions to be able to run programs that are classified as unsafe. Microsoft is also aware that Smart App Control is a radical step: SAC can only be used on PCs with freshly installed Windows 11. Those who updated their PC to version 22H2 in autumn must first reset it.
Initially, the feature runs in evaluation mode. This analyzes the individual user behavior and then decides whether the protection seems to make sense in concrete use. Then it switches on automatically after some time; this can be done manually at any time. Once a protection mode has been activated, it can easily be deactivated again, but it cannot be reactivated without resetting Windows 11. Since the installed software is lost when resetting, this step needs to be carefully considered.
Windows 10, on the other hand, does not support the third-party Smart App Control, but offers a number of similar protection mechanisms. Microsoft summarizes these in the Settings app under Windows Security.
Some, such as virus, real-time, tamper and cloud-based protection, as well as the firewall, are turned on by default. But the other protection functions that are not automatically activated are also useful. These include Monitored Folder Access against ransomware (under Virus and Threat Protection), blocking potentially unwanted apps and downloads, and — only in the Pro version — Microsoft Defender Application Guard (both under App & Browser Control Reliability-Based Protection). Depending on the CPU, you will also find Core Isolation under Device Security.
This juxtaposition of different security functions is partly responsible for the fact that Windows sometimes also warns falsely. For example, if the system warns you when installing an established program, download it again from the manufacturer or from a secure source. You can also check the file with an online multiscanner such as Virustotal or Jotti’s Malware Scan before setting it up. If it gives the green light, install the software via More information > Run anyway at your own risk. Many security suites also offer real-time and system protection.
Create screenshots with on-board tools
Screenshots can be created with the app Cut and Sketch (“Snipping Tool”), which can be called up most easily with the key combination Win+Shift+S. In the bar, you can select the screenshot you want to take. In the bar you can choose whether you want to cut out a window or an area. The image is on the clipboard, and a click on the notification opens it in the app, which offers some editing functions.
Whatever Microsoft plans for the Cut and Sketch app, the free tool Greenshot can probably already do it. After installation, it appears as an icon in the notification area next to the clock and registers the key combinations Print key (area), Alt-Press (window), and Ctrl-Press (desktop) for itself. The key combinations can be changed in the settings. After Ctrl-press, for example, a menu appears that can be used to save the screenshot, copy it to the clipboard, or open it in the Greeenshot Editor. The editor offers numerous editing functions. You can draw lines or rectangles in the image and add speech bubbles and text boxes.
Bluestacks brings Android apps to PCs
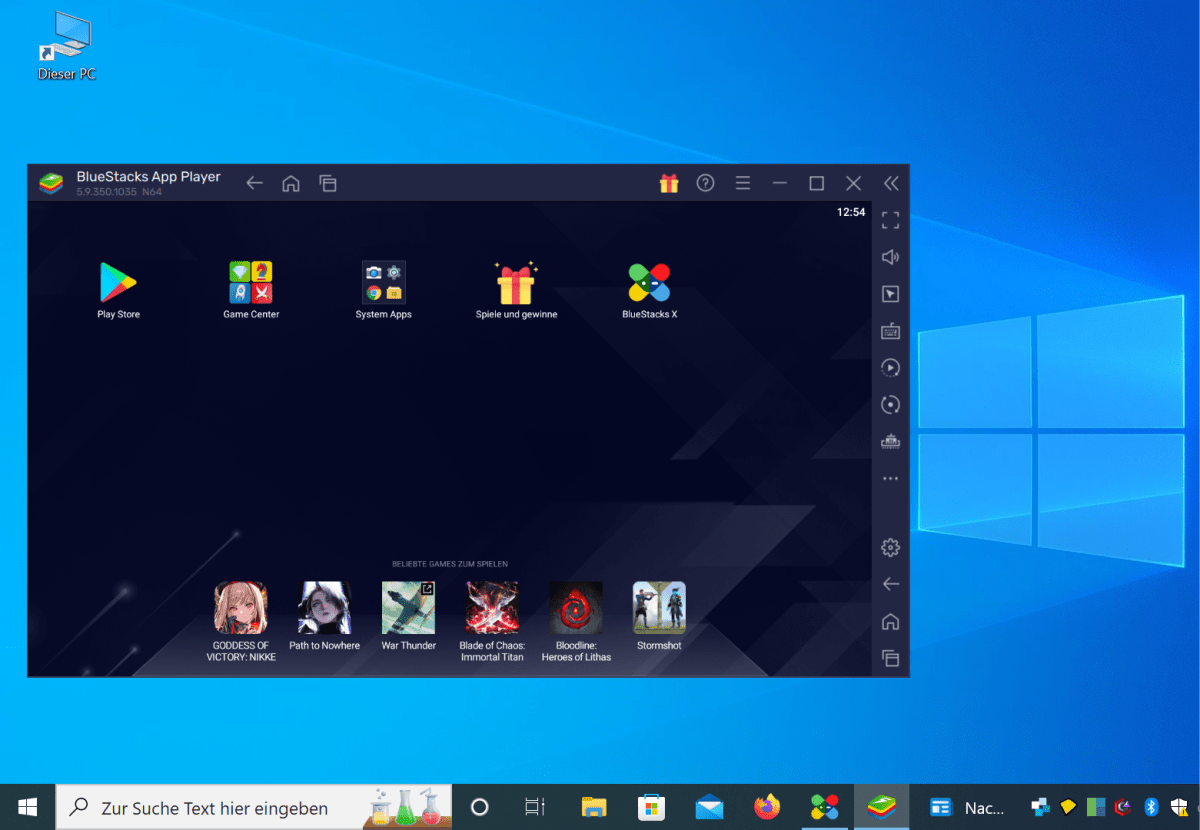
The Bluestacks App Player offers access to Google’s official Play Store as well as the possibility to install Android apps as APK files on Windows PCs.
IDG
Finally, can Android apps also be installed under Windows 10 — i.e. one of the core functions of Windows 11, which Microsoft had to postpone at the launch of the operating system in autumn 2021 for performance reasons and which was only released a year later.
The “Windows subsystem for Android” and thus the apps themselves are not available with Windows 10. But the Android emulator Bluestacks App Player brings the Android apps into the predecessor system as well.
This is how it works: Run the Bluestacks installer and wait until all the necessary program files have been downloaded and the emulator has been installed. You can start the actual player with all its functions by clicking on the symbol at the bottom left of the Bluestacks interface. The function bar on the right offers so many possibilities that you need some time to get to know and set up the new system. This includes the fact that after logging into the integrated Google Play Store, almost all Android apps are available in principle. In addition, Bluestacks offers cross-system functions, such as file and media access via Windows Explorer.
Searching with artificial intelligence
Since the release of Chat-GPT, everyone has the option of getting help from an AI. Microsoft, which has a stake in Open AI, has meanwhile integrated the AI chat into the Edge web browser. It can be accessed via the icon (“Discover”) in the sidebar. The function is available to users of Windows 10 and 11.
Insider build 23493 of Windows 11 already shows what Microsoft plans to do with AI in the future. The key combination Win + C now no longer leads to Cortana, but to Windows Copilot. The window looks like Edge and you can type a question into the input line to communicate with the AI. However, commands that are started on the PC are also possible. “Take a screenshot,” for example, searches for an action and then opens the snipping tool. “Switch to dark mode” activates the dark mode for Windows and apps after a query.
So far, Windows Copilot is still a pre-release version; the features are limited. Microsoft will probably not offer Copilot for Windows 10. To our knowledge, there are no alternative programs. With the rapid development in the field of artificial intelligence, other providers will certainly also work on tools for PC control via AI.
This article was translated from German to English and originally appeared on pcwelt.de.


