Super Mario, Zelda (or Link), Purple Tentacle, Sonic—these are just a few of the heroes who have inspired gamers for over 40 years. Some of the original gaming devices from Atari, Commodore, Nintendo, Sega & Co. are rare today, but new editions have launched with more modern technology.
The same applies to the numerous classic games that still send retro fans into ecstasy. Here, too, there have been graphically polished revisions, especially for some Lucas-Arts titles, which reflect the enduring cult character of the games.
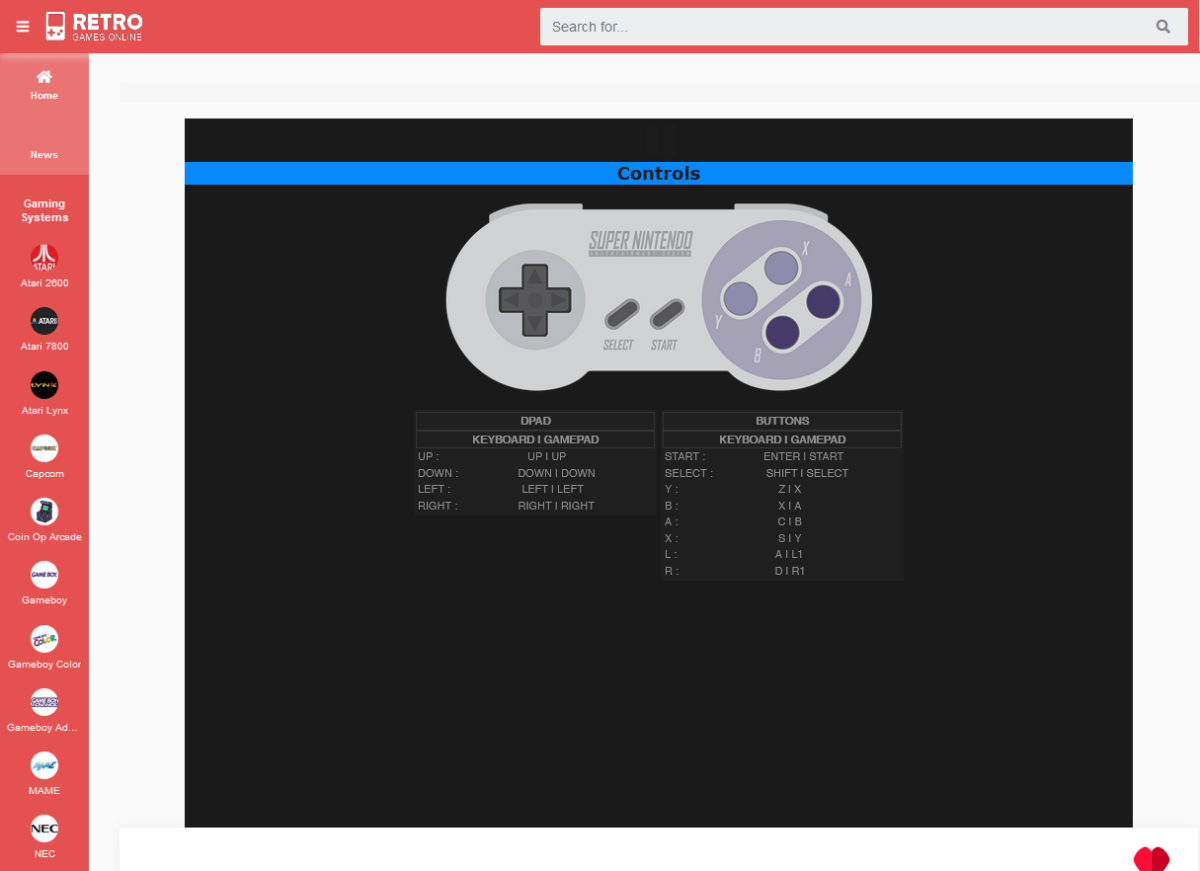
As a rule, you control retro games via the keyboard, where you are shown the implementation of the controller keys. Alternatively, you can often connect a regular gamepad.
IDG
In this guide, I show you how to get the original classic games of the breadbox era, as well as newer console titles, to run on your Windows PC. We offer you three possibilities:
- The simple way via your PC’s browser
- The somewhat more demanding way via the game collection on a USB drive
- Last but not least, the profile solution in the form of a game console based on the Raspberry Pi
But no matter which way you choose: Whether you save Princess Peach, finish off LeChuck, or successfully guide Giana through the dungeons depends only on your playing skills, not on a lack of technology.
For beginners: Use browser emulation
Probably the easiest way to play retro console games on a Windows PC is via the browser. Providers such as Retrogames, Retro Games Online, and Webrcade offer numerous Javascript emulations that can be run in the browser at the click of a mouse. For a better overview, the games can be filtered by console type.
With Retrogames and Retro Games Online, a direct search by title is possible; with Retrogames you can also search by genre; with Retro Games Online also by popularity. Retrogames also not only has console and home computer classics in its repertoire, but also old MS-DOS gems like Alone in the Dark and Gabriel Knight.
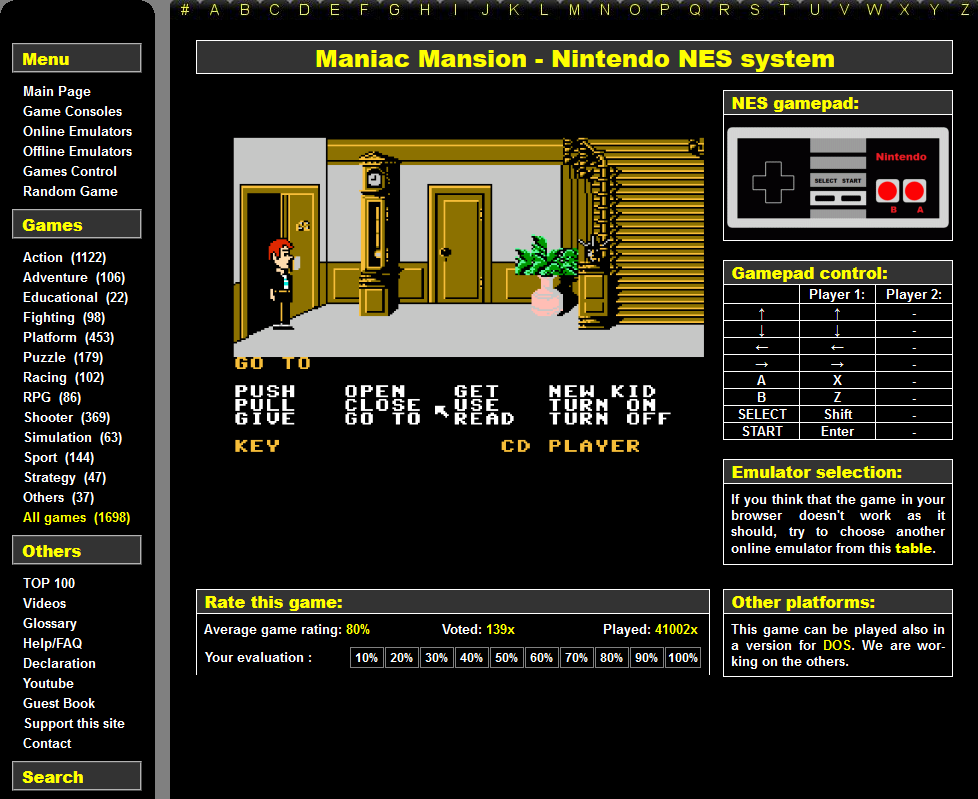
At Retrogames.cz you will find classic games divided by genre and console so that you can quickly find your desired title. The controller and keyboard assignments are shown on the right.
IDG
All providers allow you to operate the game with the keyboard. At the beginning of each game, the controller layout is displayed or you can call up the instructions by pressing a button.
A warning: It’s not much fun to play a game like Maniac Mansion with the keyboard in the emulator. It is therefore best to get a standard gamepad for the PC that you connect via USB or Bluetooth.
Further reading: See our roundup of the best game controllers for PC.
Alternatively, some console gamepads can also be used on the PC, such as the Pro controller of the Nintendo Switch or the Dualshock 4 controller of Sony’s Playstation 4. Both input devices can be connected to the PC either via USB cable or wirelessly via Bluetooth. All you have to do is set the controllers to pairing mode—in the case of the Switch Pro controller via the button next to the USB-C port, in the case of the Dualshock 4 via the PS and Share buttons—and establish the connection in the PC’s Bluetooth menu.
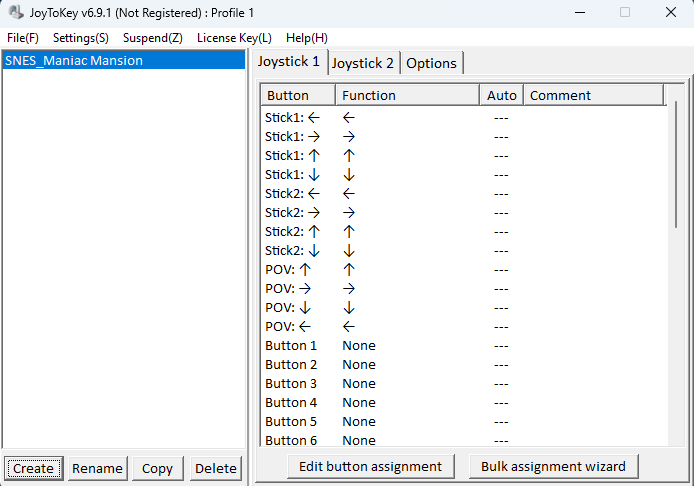
With the Joy2key tool, you can adjust the key assignment of a connected gamepad and thus control games much more easily and pleasantly than with the keyboard of your PC.
IDG
To transfer the functions of the keyboard to the controller keys, use software like Joy2Key. You can then easily map the directional keys of the keyboard to the directional pad and/or the joysticks of your gamepad, for example. To see which key of the gamepad you are currently assigning in Joy2Key (the buttons are only numbered consecutively), briefly press the key, its counterpart will then light up yellow in the program.
For advanced gamers: Live gaming from USB drives
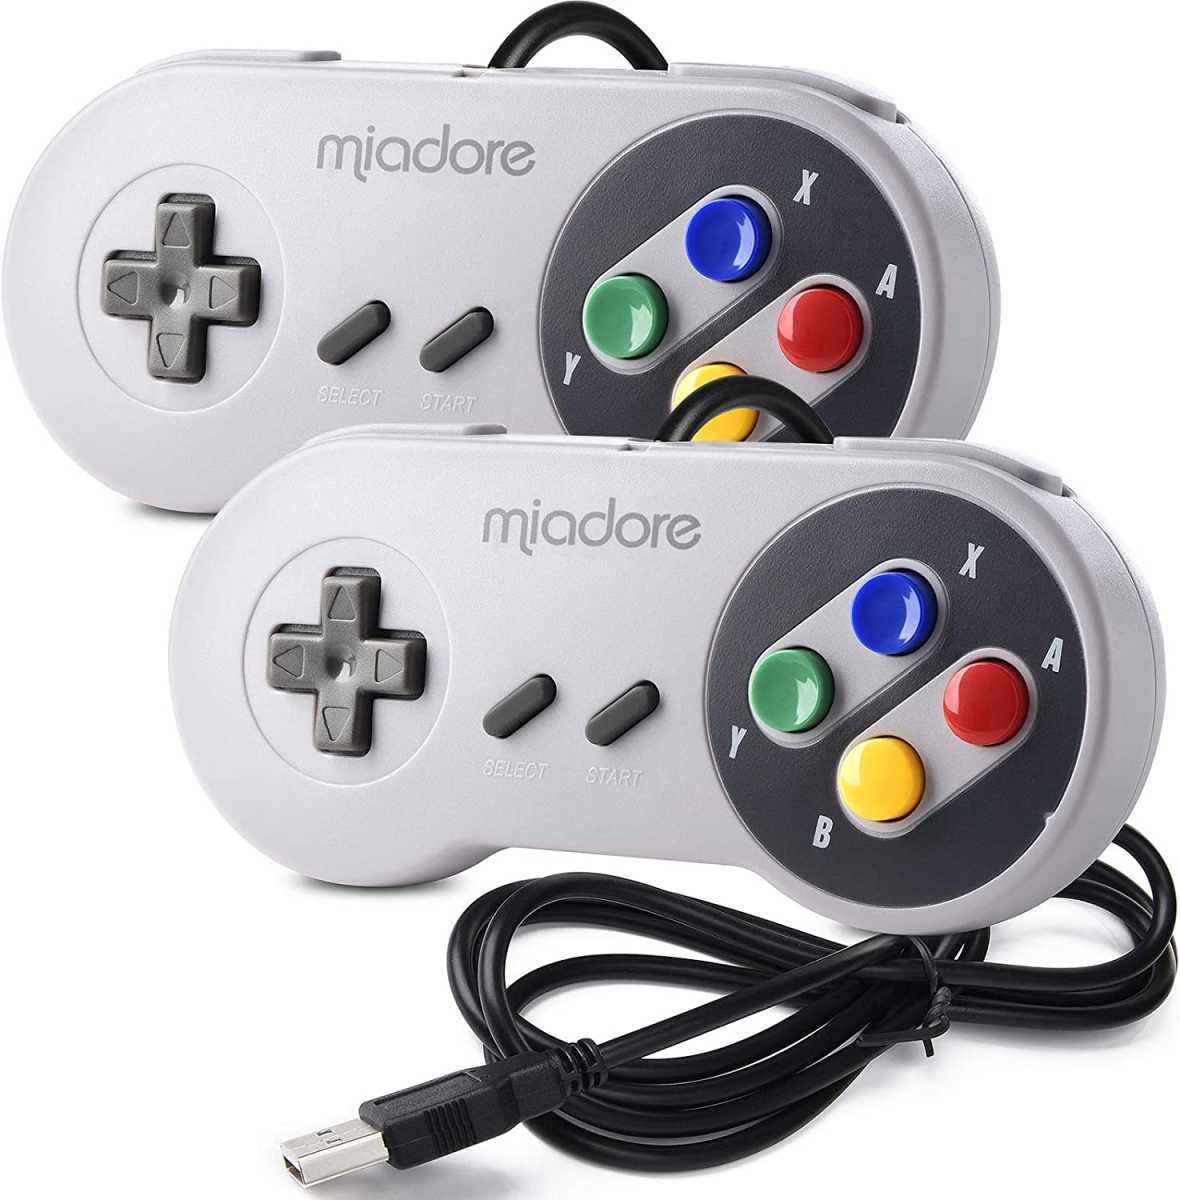
It’s true that you can also connect the Switch Pro controller or the Dualshock 4 of the PS4 to your PC for gaming, for example. However, we recommend a generic console controller (pictured), which you can get from around 20 dollars.
IDG
For those who don’t want to play their classic games in the browser, Batocera Linux offers the option of launching console emulators from the USB stick on any PC. Batocera comes with emulators for the Nintendo Gameboy, the Sega Megadrive, and the C64. If you want more, you can also install additional emulators.
And this is how it works: On the provider’s website, select the desired end device, in our case “Desktop, Laptop, NUC and Intel-based Apple Computers.” The ISO is loaded immediately. A nice side note: At the bottom of the website, you will also find the Batocera image for 32-bit systems, so that you can use your very old hardware for a purpose.
Once you have downloaded the image from the manufacturer’s website and unpacked it, all you need is a USB stick or an external USB drive with at least 8GB capacity—the actual size you need depends, of course, on how many games you want to store on it.
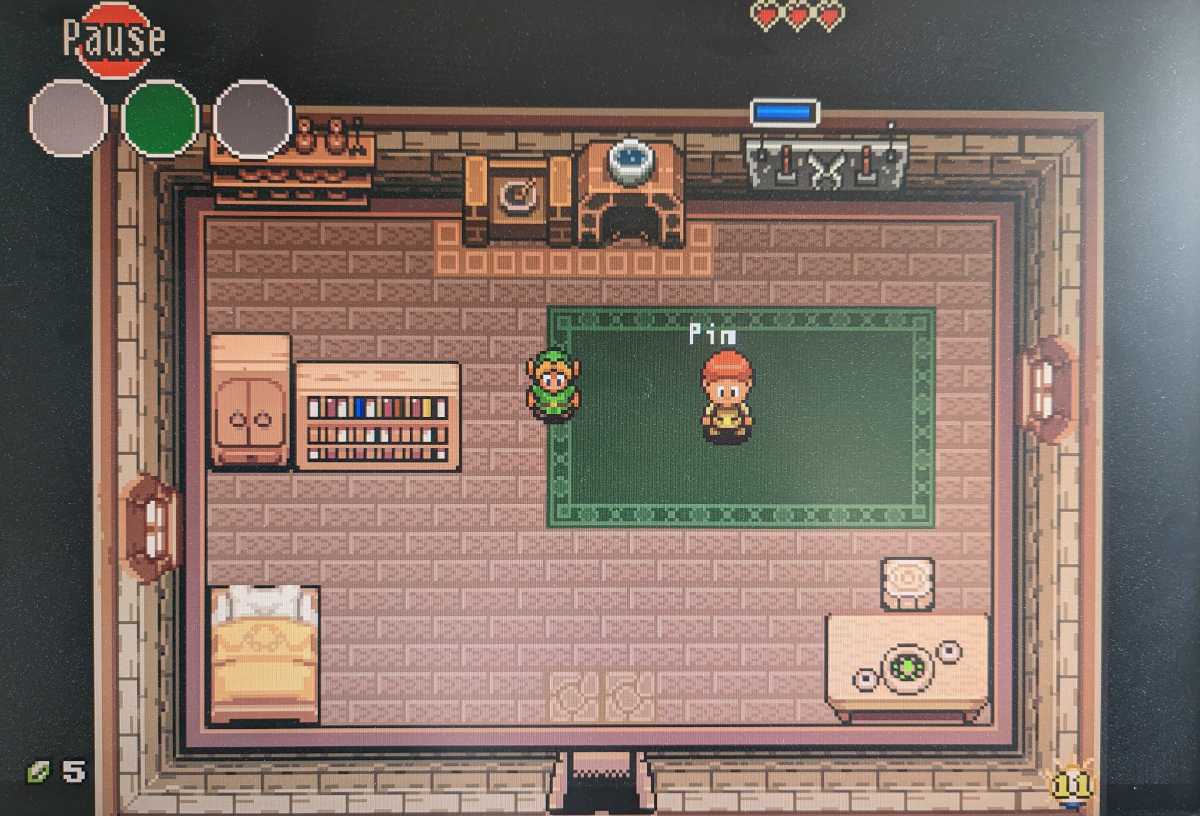
The special Linux Batocera can be installed on a USB stick. When you then start your PC from it, you can play the games that are already pre-installed—and you can add more titles whose ROM you have downloaded from the Internet.
IDG
Installing the Batocera image on the USB memory is done by the Raspberry Pi Imager from the Raspberry Foundation. Load and start the tool, plug in the USB storage device, and select it under SD card. Then click on Operating system—Select OS, and at the very bottom on Own image.
Navigate to the Batocera image on your hard drive, select it, and then click on Open, Write, and Yes. Note: You can also select the image in its packed state in the Raspberry Pi Imager, but then the transfer to the storage medium may not be completed. We therefore recommend unpacking the image beforehand.
Once the USB medium has been written, boot your PC from it. You may have to adjust the boot sequence in the BIOS. Use the keyboard or a controller to operate the computer. A gamepad connected via USB is immediately recognized and ready for use. You can pair a Bluetooth gamepad via Main Menu > Controller & Bluetooth Settings > Pair Bluetooth Device Manually. You can find information about the button assignment at https://wiki.batocera.org/basic_commands.
Batocera comes with 14 games from different platforms. You can load additional titles, as well as emulators, into the program by selecting Main Menu > Updates & Downloads > Content Downloader. However, you should only load one file at a time to avoid problems. To integrate your own ROM, use the integrated file explorer, which you call up with F1.
Under ROMs you will find folders for all games and systems. To add a game for the C64, for example, first check the supported ROM formats in the file “info.txt” in the folder “c64.” Once you have found what you’re looking for on the internet, load the ROM onto a second drive and plug it into the PC. It will be recognized in Batocera’s file explorer and you can then copy the file (usually as a ZIP archive) into the c64 directory. After a restart, the game appears in the overview and is ready.
For professionals: Raspberry Pi as a game console
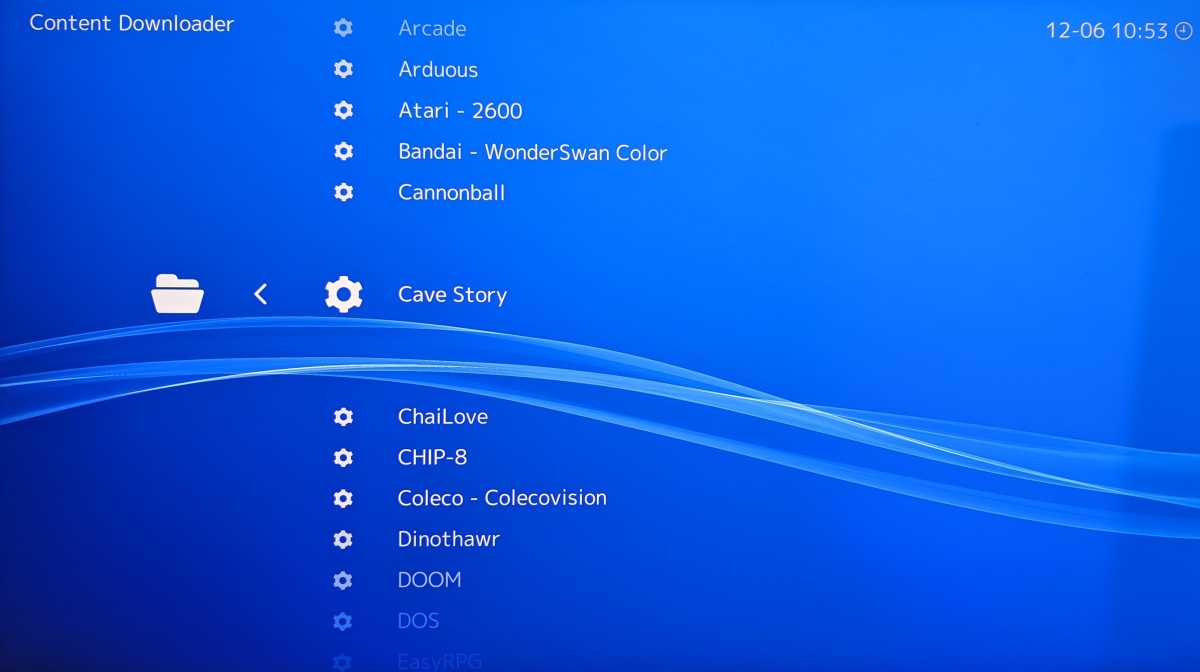
With Lakka, you can upgrade plenty of games and emulators of the corresponding consoles via the menu item Content Downloader. You then operate them via the keyboard or a gamepad.
IDG
If you own a Raspberry Pi, you can very easily convert the board computer into a game console for retro games. For example, the Batocera.linux described in the previous section is also available for various Raspi models. Other available game emulators for the Raspberry Pi are Recalbox, Lakka and Retropie. All three can be installed directly via the aforementioned Raspberry Pi Imager, and all three are also available for desktop PCs.
For use in the Raspi, insert a micro SD card into a connected card reader or integrated card slot on your PC and run the Raspberry Pi Imager on the PC. In the main view, select your memory card from the right drop-down menu SD card and on the left under Operating system—Select OS navigate to the desired emulator via Emulation and game OS.
Click on it, then specify your Raspi model for the appropriate software version and finish with Write. Once the process is complete, boot your Raspberry Pi from the micro SD card.
To operate the games, use either a keyboard or a gamepad, which you can connect via USB or Bluetooth, depending on the Raspi model and emulator, and configure with regard to the key assignment. You call up the corresponding menu with Recalbox via the Enter key; with Lakka via Settings > Input; and with Retropie right at the first start.
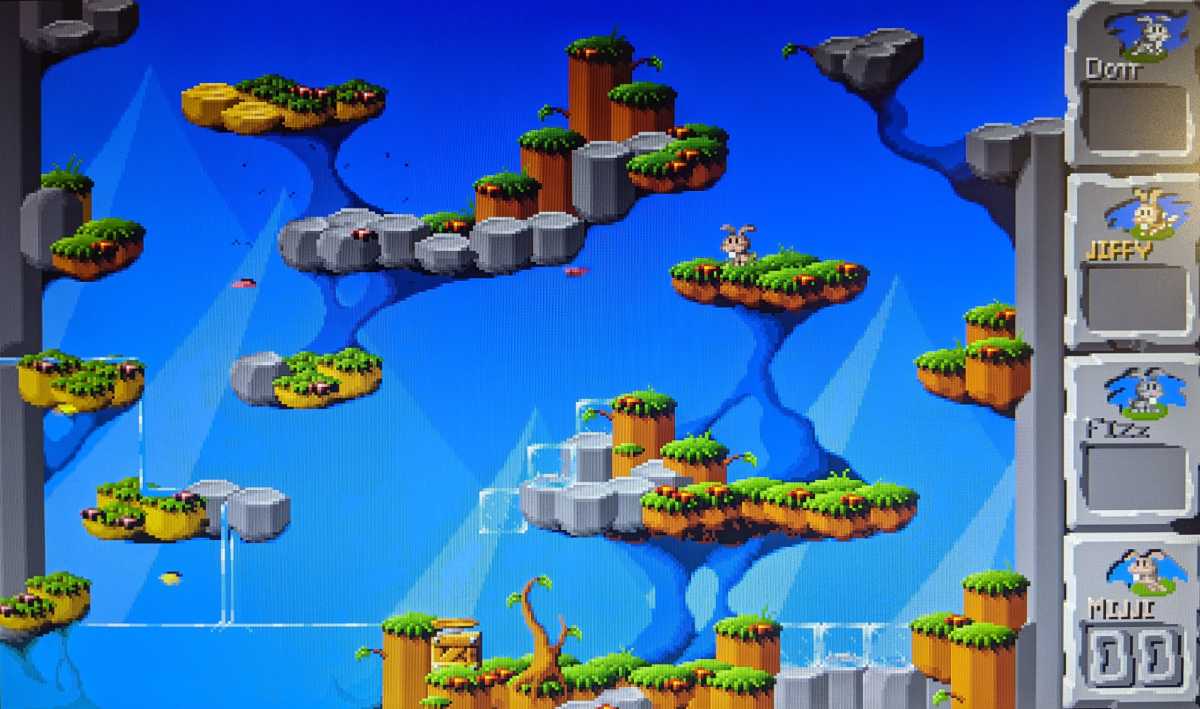
Retropie is a game emulator for various systems that even comes with a few games. Numerous other games can also be installed later.
IDG
Recalbox already comes with numerous games listed by console, but also allows for expansion with additional ROMs. Lakka, on the other hand, only has a few games on board. If you want to download more titles and emulators, it is best to do so via Main Menu > Online Updater > Content Downloader. Here you can select games by console and then execute them via Load Content, whereby you can also determine the emulator used (Core).
More information on adding ROMs can be found at https://lakka.tv/doc/ROMs/.
With Retropie, you must first load the game ROMs and the corresponding emulators: First set up the WLAN via Configuration. Then select Retropie Setup in the main menu, followed by the options I Basic Install and Yes. Then download the “optional packages” or the “experimental packages” in the same way under P Manage Packages, although the games do not always work here.
To display the games in the main view, press the start button on your controller and select the options All Games, Favorites, and Last Played in the menu that appears under Game Collection Settings—Automatic Game Collections, if desired.
Note: Information on download sources for legal game ROMs can be found in the box below. However, always make sure that the extensions are in the correct format and in the correct folder.
Legal games ROMs
If you want to add more titles to your retro games collection, you will find various sources on the Recalbox website. Alternatively, you can also find them at Mamedev or Romhustler.
This article was translated from German to English and originally appeared on pcwelt.com.


